
For better or for worse, the young, modern gentleman does a lot of things in front of his television. He eats dinner, works on his laptop, and entertains guests all from his couch. Because of this, we end up with some cheap, ugly tray table – a piece of function over form – defiling our living rooms that we’ve worked so hard to make nice while living on a budget.
It’s time to ditch that plastic monstrosity and take things into our own hands.
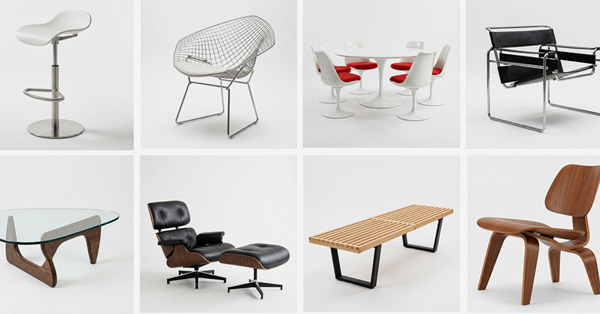
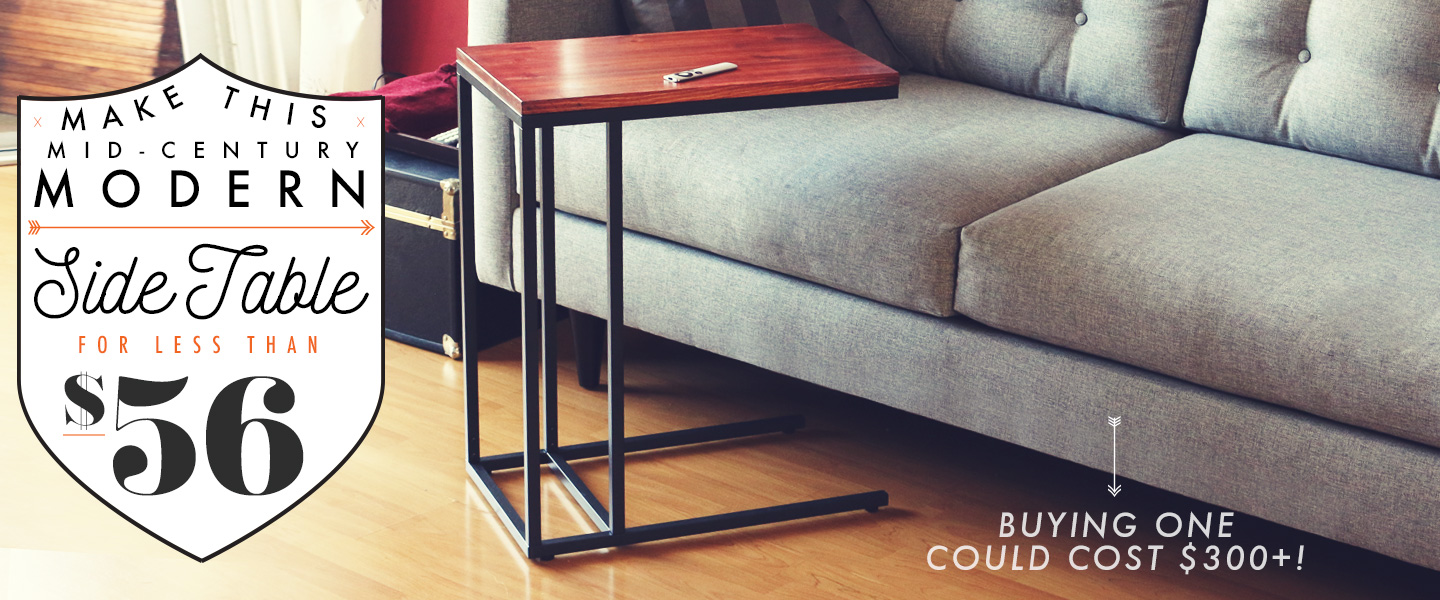
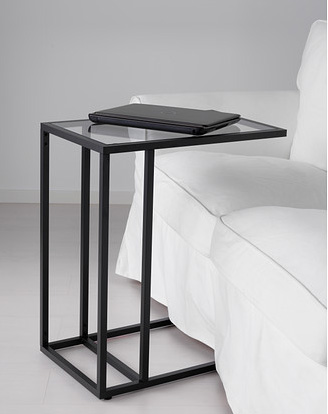
This beautiful metal and wood “C table” has clear design hints from several twentieth century design styles including Bauhaus, International, and Mid-century Modern. The use of metal and wood also creates an industrial feel that fits perfectly with Primer’s other dead-simple DIY projects like our Industrial Bar Light, Pipe Side Table, Bar Cart, and Giant Map & Frame.
Do not be intimidated if you’re new to DIY. This project could not be simpler.
Materials Needed:
- Ikea VITTSJÖ laptop stand – $25
- 13 3/4” by 21 5/8” Wood plank – $8 or less
- Wood stain, $5 (I used Rust-oleum American Walnut Ultimate Wood Stain)
- Polyurethane, $7 (I used Varathane Semi-gloss Heavy Use Formula)
- Foam brush
- Sand paper – medium/course and very fine
- 6 screws, less than an inch long
Step 1: Pick up the Ikea laptop stand
The idea for this project first came when I stumbled across the Vittsjo laptop stand during a recent walk around Ikea. I wasn’t a fan of the glass, but the metal shape was perfect and at $25, it’s a steal.
Step 2: Get your wood (and other supplies)
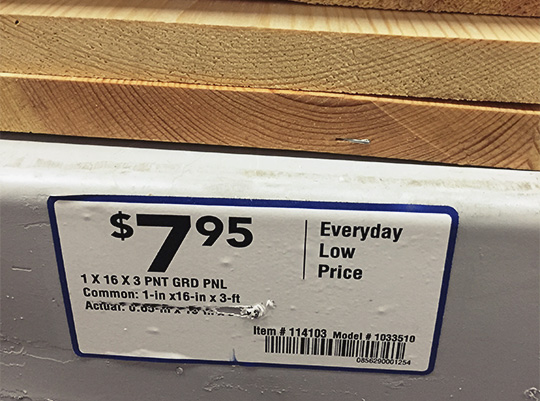
Head over to your local big box home improvement store. I swung by Lowes and found this 1 x 16 x 3 panel for less than $8. It’s much larger than what we’ll need here, but it was the smallest board available that matched our 13 3/4” width. Annnnnd you’ll have a nice leftover panel you can use for another DIY project.
Step 3: Have them cut it for you
Even if you have the tools to do it yourself, why bother? It takes the Lowes guy 45 seconds to mark your board and cut it on their giant saw. I strongly recommend measuring the cut board afterward just in case there was any miscommunication or poor measuring. You don’t want to get home and realize it’s too short.

Step 4: Put together the laptop stand and fit the board
Unpack everything and assemble the laptop stand. Loosely position the board to ensure proper fit. Remove the board and…
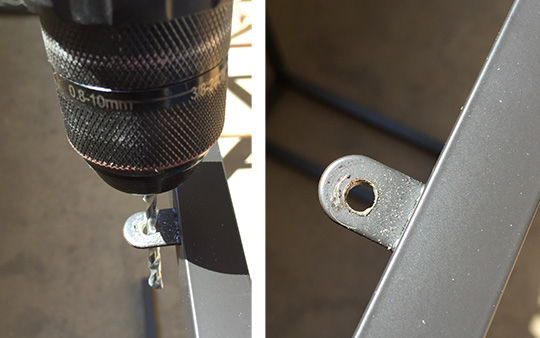
Step 5: Drill holes in the metal tabs meant to hold the glass top
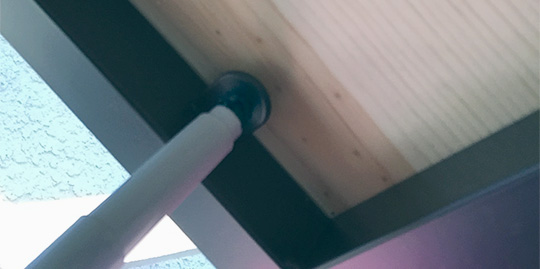
The laptop stand has six little metal tabs that stick out where the included glass top is supposed to go. Instead, we’re going to use these to fasten our wood top to the metal frame.
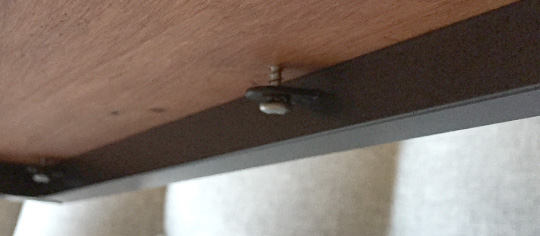
I used 6 screws that I had laying around that are slightly shorter than an inch. If you hold one up next to the frame and wood don’t be alarmed if it looks like it’ll be too long. There is a space between the metal tab and the wood, as you can see here:
Once your holes are all drilled, place the board back on the frame and clamp in place. Use a sharpie or pen to mark where the holes should go on the wood. We’ll use these to start pilot holes.
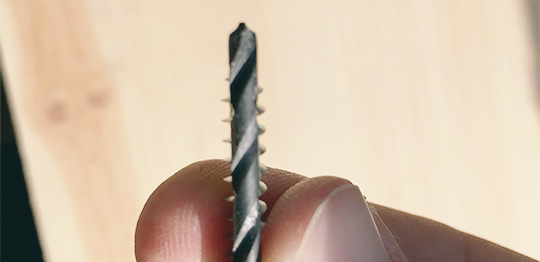
A good trick for choosing which drill bit to use for your pilot holes is to hold your screw underneath your drill bit. You should only see the threads of the screw sticking out:
Step 6: Sand
I’ve done quite a number of DIY projects by this point that involve wood and I can shamefully say that this is the first one I’ve actually paid enough attention to while sanding.
Sanding, especially to beginners, can seem like something you want to skip over and move on so you can get your project assembled. You’re excited and after a few passes with sand paper, it seems smooth enough.
However, THIS is the most important part of the entire process. This is what will separate your finished product from made-it-yourself-table to an impressive piece of real furniture.
To sand properly, begin with a courser grit sand paper. Sand paper grit numbers are used to identify the size of the abrading materials embedded in the paper. Higher numbers are finer and thus your wood will be smoother. However, you can’t take your Lowes board and start with a very fine sand paper, you must start with a courser grit and move up.
For this project, I only used two grits: a medium P80 and very fine p220. (Don’t get too caught up on using these exact grits, just know you need to start with a courser grit and move to a finer grit to really get that glassy smooth finish when you’re done.)
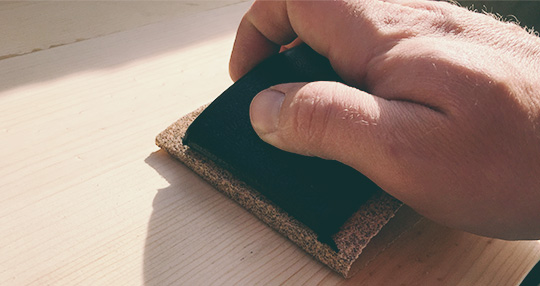
Start with your course grit sandpaper, scraping off splinters and imperfections. Give the edges a light pass to make them less sharp. Don’t forget to sand the bottom too: We want this to be a completely finished piece of furniture.
Once the board feels smooth and even all over, then go back with your fine sand paper. As soon as you do a couple of passes with this you’ll realize why you’re doing it – it’ll make your wood buttery soft.
It’s important to remember that your board will never be smoother than it is at this point. It is common for the wood grain to raise slightly after staining and applying polyurethane causing a rougher feel, so that’s why getting it extra smooth right now is so important.
Step 7: Stain
The board should still be removed from the frame at this point. You may be tempted to leave the board attached, but the stain and polyurethane will collect in the valley between the wood and metal and will be hard to remove. Set up shop somewhere with drop cloths, newspaper, or a tarp underneath the wood. I 100% recommend wearing gloves for the staining process, otherwise it will get on your skin and can take a couple of days to get completely off.
If you’ve never stained wood before, don’t be intimidated. It is super easy. Simply wipe on the stain in the direction of the grain with a lint free rag or sponge, allow to penetrate for 1-2 minutes, and wipe off with a clean lint free rag. (Old t-shirts work well for this.) I went back and did this two or three more times, but just know the first pass is the darkest. The wood can only soak up so much stain; the second pass won’t make it twice as dark.
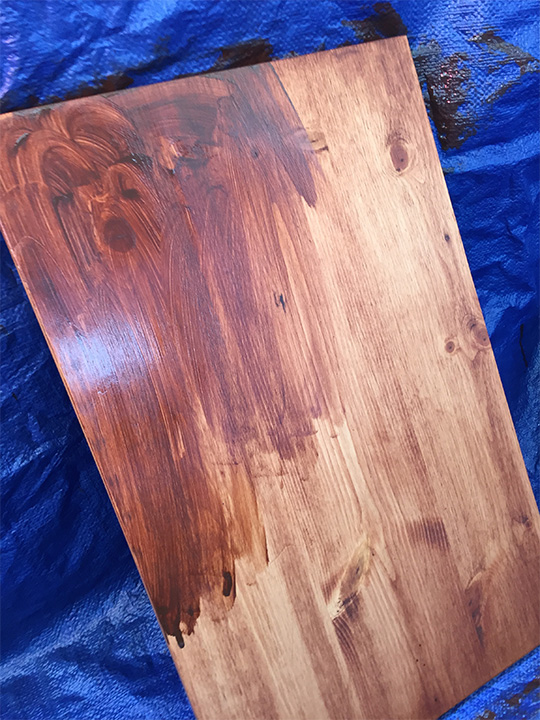
Allowing extra stain to dry on the board is not a good way of getting it darker either, it’ll just look splotchy.
Don’t forget to do the bottom as well!
Step 8: Protect with polyurethane
Since we want this to be a high-functioning table to hold glasses, plates, and other things, we need to adequately protect it. We do this by applying several coats of polyurethane to keep moisture from getting into the wood, which can cause stains or warping.
The stain I used allows for polyurethane treatment after drying for an hour, but follow your specific stain’s instructions. Use a foam brush to apply a thin coat of polyurethane, while brushing in the direction of the grain. Even out any places that extra polyurethane has collected. Allow it to completely dry for a couple of hours.

Once dried, give another light sanding pass with your very fine sand paper. The polyurethane should come off as white dust if properly dried. We do this to even out thicker areas of polyurethane and sanding between coats ensures maximum protection.
Wipe the board down to remove all of the sanding dust, and apply another coat of polyurethane. Repeat this process for a total of 3 coats of polyurethane. This attention is what will ensure protection from spilled drinks. You won't even need to use a coaster.
Step 8: Attach the board and enjoy
Position your board on the frame and insert the screws into the pilot holes through the metal tabs.
If you make one yourself, please share a photo of it in the comments, I'd love to see it!