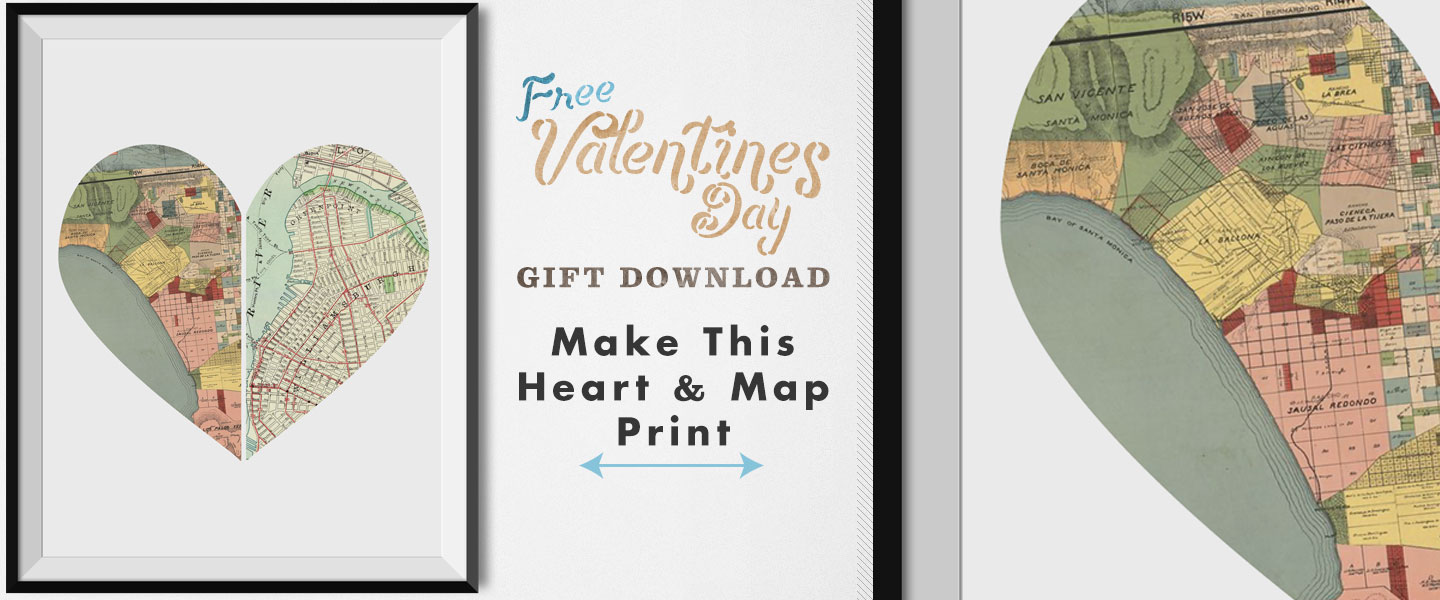
Previously we put together a collection of Valentine’s Day gift ideas that are from smaller, indie brands. Now, I'll show you how to craft your own super thoughtful gift.
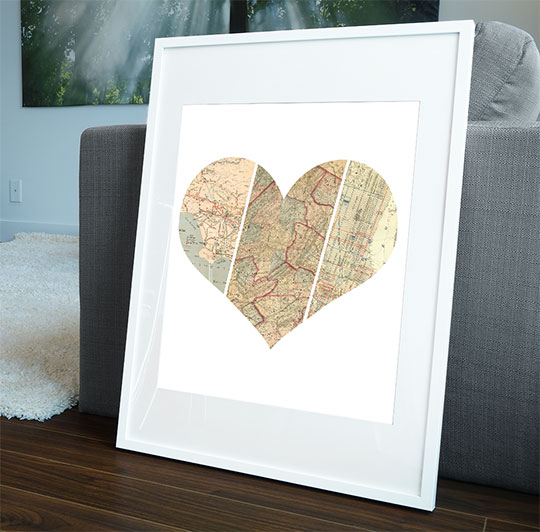
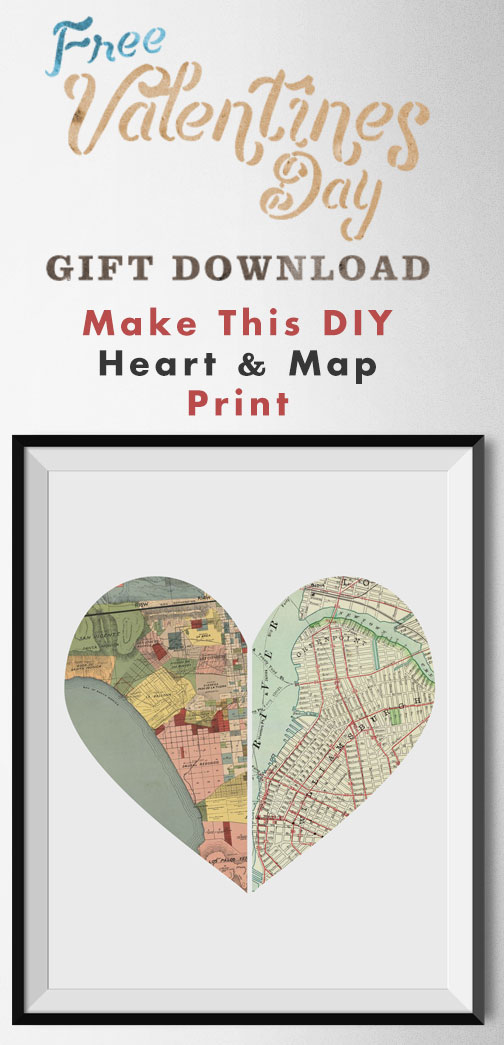
This is the perfect Valentine’s Day gift no matter how far along in the relationship you are. If it’s a relatively new relationship, the maps you choose can be their hometown and where they live now. If you’ve been together for awhile, the left side can be where they're from, and the right side where you’re from.
If you both grew up in different places than where you live now, a nice longer term relationship gift would be the heart with 3 maps, with your birth maps on the outside and where you guys live together now in the middle. If you live in your hometown, you could choose ancestral countries, favorite places you’ve visited together, honeymoon spots, really anything that has value to the both of you!
Step 1: Download the Photoshop File
The Photoshop files use color layers as examples instead of maps to keep the file size down. (With map examples the PSD was over 100mb, without they're 6mb.)
Step 2 : Find Your High Resolution Map Images
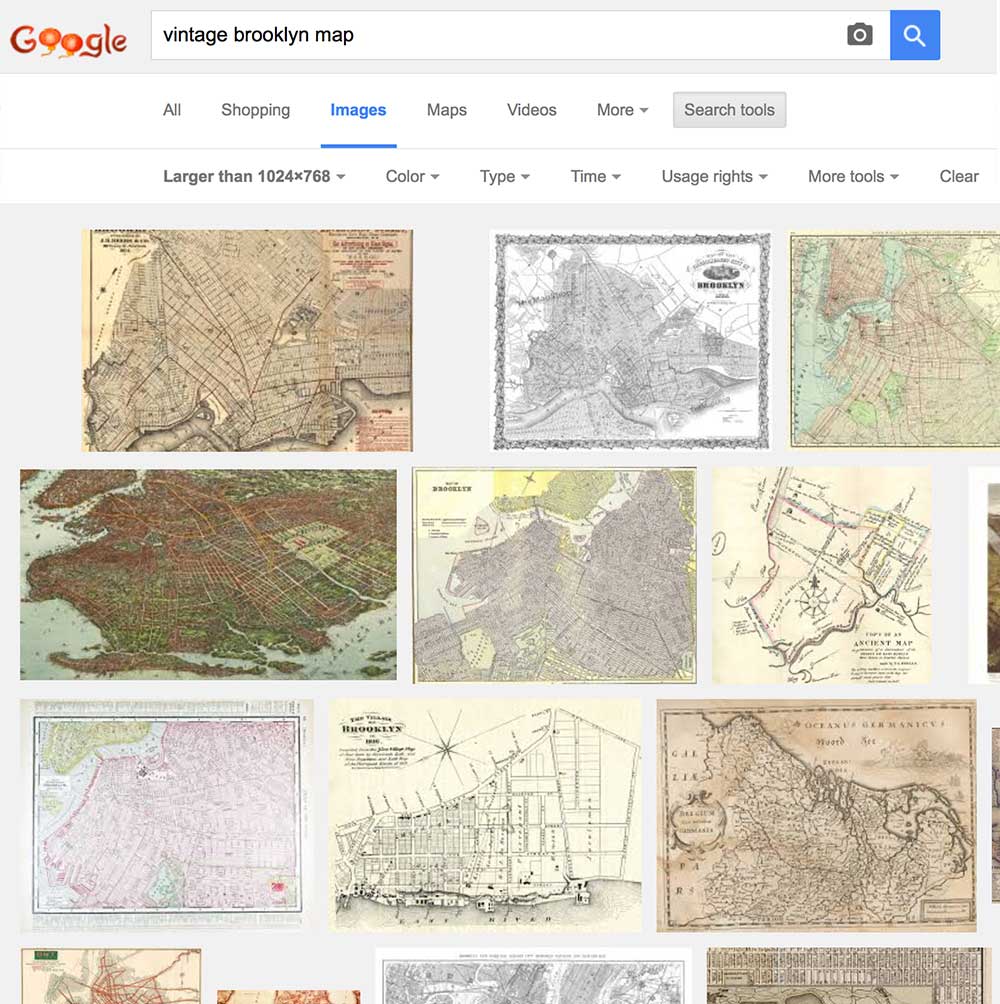
Go to Google's Advanced Image search and search for “YOUR CITY Vintage Map”.
Under image size, change to “Larger than 4 MP”. Scroll through the options and find one you like. If there aren’t any results you like drop the image size down to 2 MP and see what comes up. The higher res, the better the details will be on the print. If you still can’t find anything you like, you can search by a county (Allegheny County vintage map) or a broader region (western Pennsylvania vintage map).
Step 3: Paste the Maps into the Photoshop File
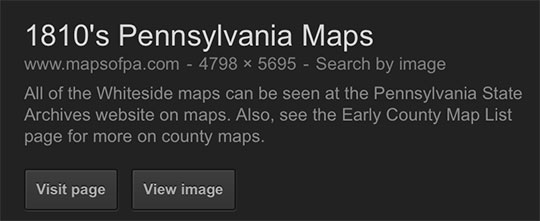
Once you find the map, click on “View image” in the Google image viewer. You’ll be taken to the full resolution image where you can right click and choose “Copy”.
Back in Photoshop, go to the Layers palette, which should be on the lower right side. Find and click on the layer called “Left Map Example”. Paste in the map you’d like to be on the left side of the heart.
To get the map to be in the shape of the heart, we’ll use a “clipping mask” on the newly pasted map. To do that, hold down the Alt / Option key on your keyboard and place the cursor between the new map layer and the “Left Map Example” layer and click, like so:
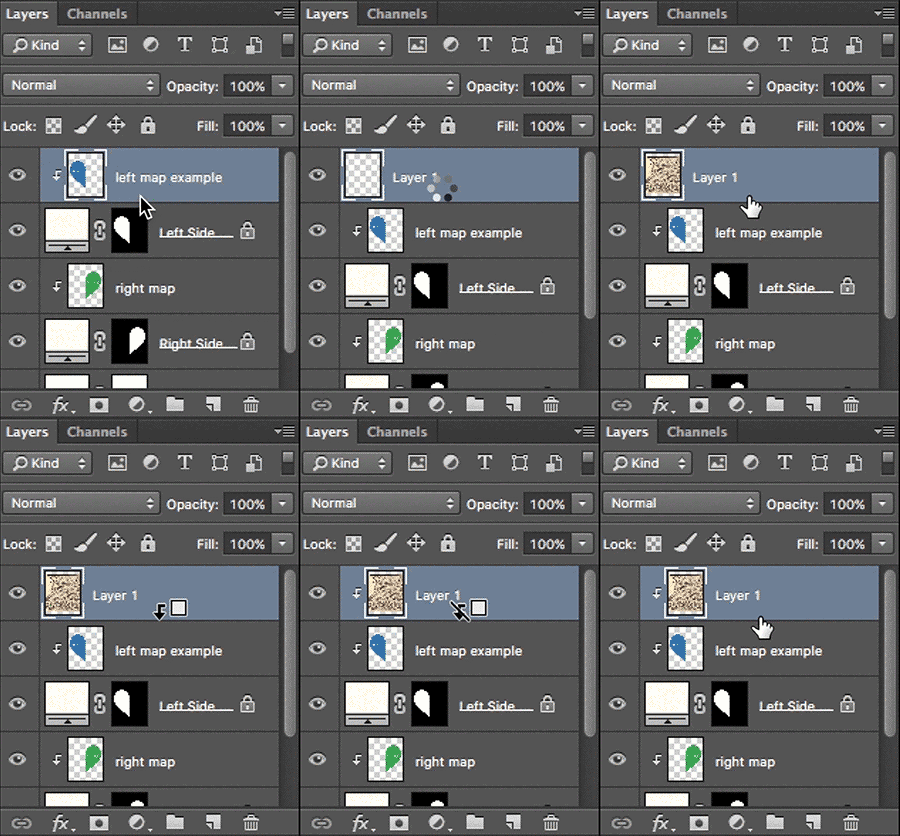
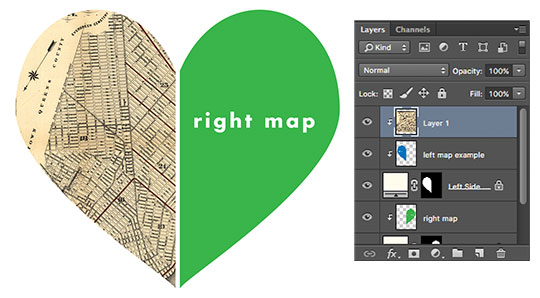
Repeat that process for the right side map for the two map version or the middle and right maps for the three map version.
To reposition what part of the map shows within the heart shapes, simply use the Move Tool and drag the layer you pasted in until the portion of the map you want is visible. Do this for each section.
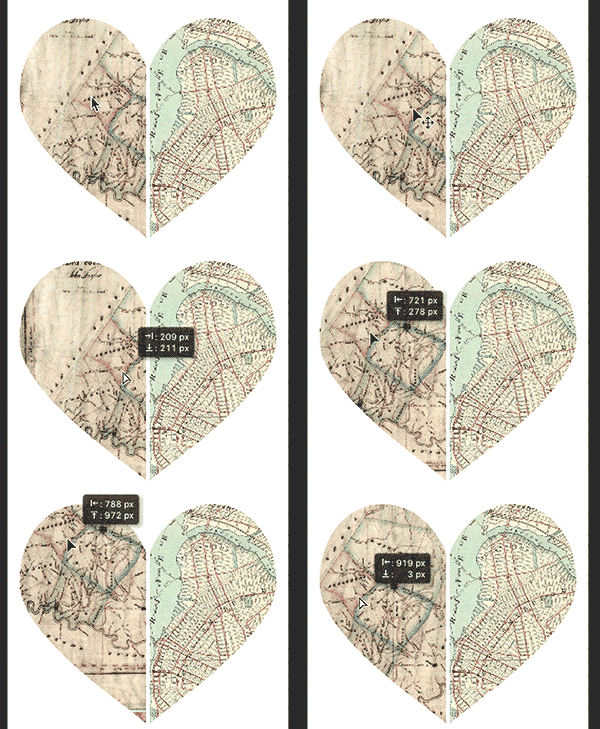
If the part of the map you want to be visible is on the edge, make sure the Example layers are not accidentally peeking out. You can guarantee this by clicking on the Eye next to the Example layer to make it invisible.
Step 4: Save & Print
Once you have your map the way you like it, simply save it as a high quality JPG or TIFF file and have it printed wherever is convenient for you. I love Costco, their 16″ x 20″ prints are less than $15 and super high quality. You can also check out Staples, or any local print shop will be able to help you out.
Step 5: Frame It
The Photoshop file is a 16” x 20” image. I use Ikea frames for all of the Free Art Print Downloads; for the price and style they can’t be beat. Some of them use plastic instead of glass, but the added expense of going to a frame store always seems too prohibitive.
That’s it!
→ Dive deeper: Give your map with a thoughtful card, here are 19 Romantic Quotes to Start Your Valentine’s Day Card
If you end up making one, I'd love to see how it turned out! Share a photo in the comments or tag us on Instagram @primermagazine.
Check out the whole Free Art Download series, and our collection post, with over 40 free printable wall art downloads.



![It’s Time to Begin Again: 3 Uncomfortable Frameworks That Will Make Your New Year More Meaningful [Audio Essay + Article]](https://www.primermagazine.com/wp-content/uploads/2025/01/begin_again_feature.jpg)
