My father-in-law loves to grill. He’s not Hank Hill-level about it, but he’s comfortable handling some beef over coals. He’s an old school kind of guy and tries to include me in this manliest of cookeries, but I always seem to find ways to duck out. Why is that?
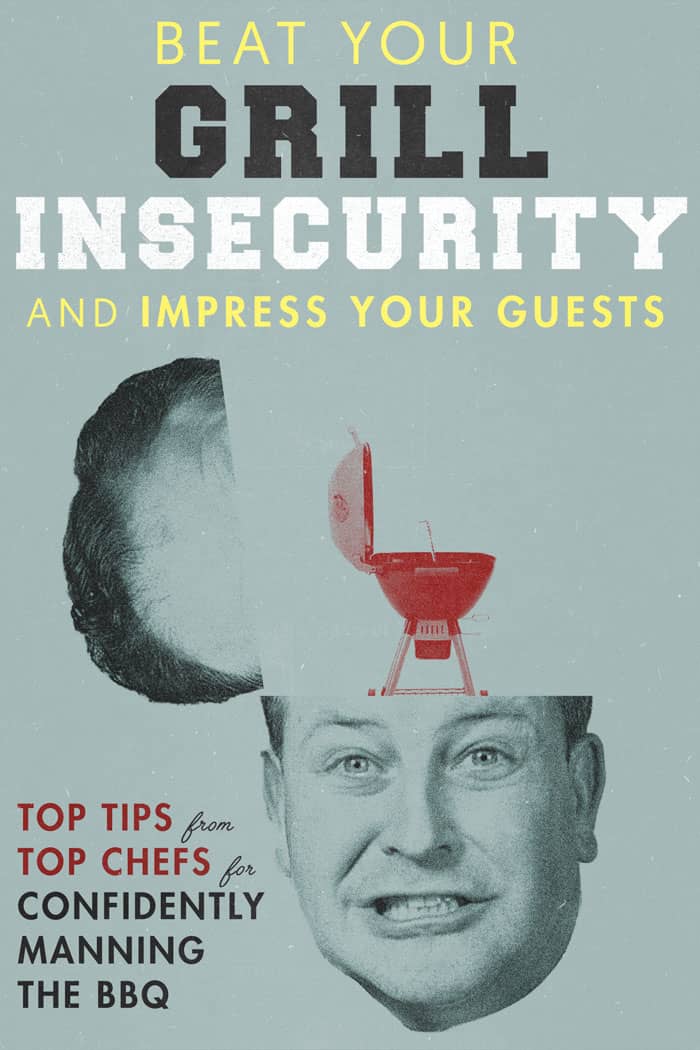
I have grill insecurity.
I used to grill a bit in college, and in my 20s with friends. But anytime I’ve had any kind of gathering organized around grilling, it’s… not gone well.
There was the time I tried grilling steaks on the roof of my apartment building with a tiny Coleman grill. They quickly blackened on the outside, but raw on the inside (not rare, friends). I threw them back on the fire, which had largely died at that point, and we all ended up gnawing on steak pucks.
Then more recently, at our housewarming party, I tried grilling burgers for our guests. It took longer than I expected, and I was anxious the whole time.
The thread throughout has been that I didn’t feel in control.
If you’re like me, you want to be able to invite a small crowd of people over to your home, cook them delicious meats that won’t give them food poisoning, and also have a good time.
So we’ve turned to BBQ experts Chef Dan Churchill, host of Genius Kitchen’s Feast with Friends, and Chef Charlie McKenna, owner of nationally-recognized Lillie’s Q restaurants to help us out with an idiot-proof guide to cooking beef, burgers, and chicken.
Why Is The Grill So Intimidating?
It seems so simple. Put some meat on a fire, cook until amazing, enjoy praise from friends and loved ones.
But there are actually a lot of elements that go into a successful grilled meal. Chef Churchill notes that a grill “is not necessarily something that the home cook uses every day, so there is a bit of knowledge required to work around the grill and get your best results.” Just like any other new skill, it takes some time and knowledge to do it right.
So let’s try to let go of the expectation that guys inherently know how to grill.
Because of the simplicity of the grill, Chef McKenna notes that a lot of people initially go into it overly confident, with the thinking that “you don’t need all the necessary equipment to make the perfect grilled meats, like a thermometer, and most importantly, a fully functioning grill,” only to be disappointed with the end product.
Now, many of you are probably shaking your heads and saying, ”This isn’t rocket science.” Well, it’s not tying your shoes, either.
I didn’t grow up grilling with my dad, and this is not second nature for a lot of us. What follows is not an exhaustive guide to grilling by any means, but a few pointers to get you (back) in the grill game.
We’re going to cover must-have equipment, doneness, prep, and bulletproof strategies for making sure you don’t under-, or overcook your protein.
Pro Tips For Grilling Anything
There’s a whole world of animal parts that can be put over a fire in your backyard, but our experts agree that there a few key things to know that can help make any of them successful.
I present to you the Four Pillars of Grillers:
1. Have The Right Equipment
The Grill: Our experts agree that charcoal grilling yields better flavor than gas grilling, and is worth the effort even though a gas grill makes it easier to control the temperature. “When you opt for a gas grill over charcoal, flavor is the trade-off,” says Chef McKenna. “You cannot get that same authentic smoked, grilled flavor without using a grill that is fueled by charcoal or real wood.”
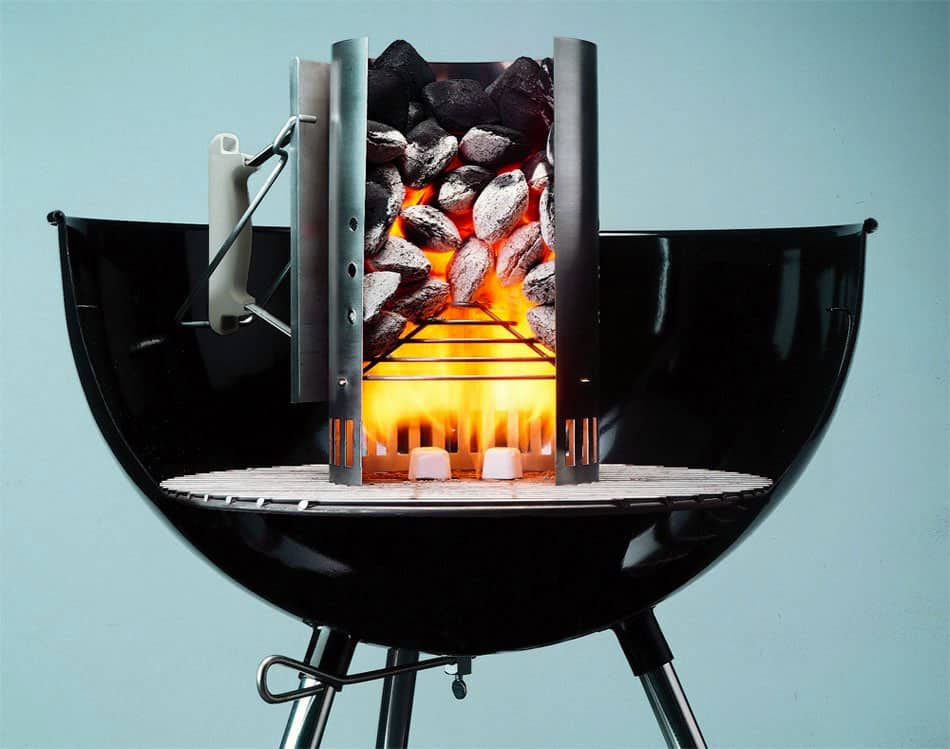
Charcoal Starter: Using a basic charcoal chimney is a must for beginners (it was a game-changer for me). These inexpensive gadgets make it easy to light your coals without using half a bottle of lighter fluid.
Simply fill the chimney with charcoal, light up some newspaper or starter cubes on the bottom grill grate, set the chimney on top, and let the fire do its thing. 10-15 minutes later you should have some nicely ashy coals. Dump them out onto the bottom grate, put the top grate back on, and get to cooking.
A word on grill placement: Newbies tend to set the cooking grate too far away from the coals out of fear of burning their food. For most things, you want to get a good, flavorful sear on the surface. So set the grill close to the flame if you can.
Thermometer: “The top source of grilling insecurity is the fear of burning your dinner,” says Chef McKenna. “Most think they can tell the temperature by look, or touch, but that really takes a lot of expertise gained from trial and error. Getting a thermometer is the easiest way to overcome that insecurity.”
We’ll cover meat doneness more in a minute, but in the meantime, invest in an instant-read probe thermometer. Don’t think about it, just do it.
This digital option by ThermPro is only $18 on Amazon with 4,500 reviews and 4.5 star average. It’ll do. For $35 and similarly impressive reviews you can get a wireless thermometer so you don’t have to babysit your mean when you have guests.
Tongs: “I recommend long tongs to reach for your grilled items and flip them over without burning yourself,” says Chef Churchill. Tongs are available at any home goods store, and are much easier to use than a spatula for things like steaks and chicken. These 4.5 star reviewed 16” tongs are only $8
2. How To Know When Meat Is Done
There’s a lot of folk wisdom floating around out there about how to know when meat is done cooking. The “touch test” is a big one, but there’s also the trusty “looking at it and guessing” method.
Simply put, the easiest way to know is to get the internal temperature with an instant-read thermometer. Use this excellent chart to know what you’re aiming for – I’ve printed it out and have it in a plastic sleeve next to my grill. Dorky? Don’t care. This is what I need to internalize the knowledge.
While you want your thermometer to do the heavy lifting, Chef Churchill advocates for also getting to know how meat looks and feels when it’s cooked right: “You'll begin to learn from experience how various meats should look and feel, from touching them and then slicing open to reveal the meat inside. Don't be afraid to cut into your meat if you're just starting out to learn how long certain things take.”
Also important is the resting period after taking the food off the fire. Meat continues to cook after it’s taken off, and “The bigger the piece of meat, the longer it needs to rest, and you should aim to wait at least 5 minutes,” says Chef McKenna.
3. Do Your Prep Work
Taking the time to prep your grill and meats beforehand will pay dividends in the finished product. Clean your cooking grate, think about whether you want to marinate anything, and have your tools ready.
It’s absolutely essential to take your meat out of the fridge 20-30 minutes before it goes on the grill. Taking the chill off relaxes the meat and makes for a better sear.
A little acid can also help up your flavor impact. Chef Churchill recommends “adding lemon juice or vinegars to your marinade to help tenderize the meat and allow more flavor to get inside.”
4. Don’t Forget to Have Fun
Oh, and remember that this is supposed to be, like, enjoyable. If you’re worried about timing, start early and keep the beer flowing. Pay attention to what you’re doing, but try to chill out and remember that you can only get good at anything by doing it.
Also, crucially (for me), have a Plan B. If your grill effort is tanking, order pizza. No one will complain that they came to your party and only had pizza and beer.
How To Grill The Perfect Burger
Juicy inside, slightly charred and crisp outside, what else do you need in a burger besides a bread product and some toppings?
Chef Churchill recommends the following:
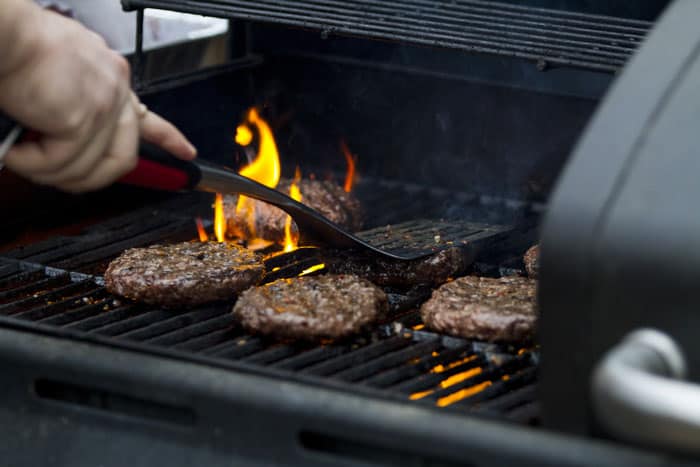
- Get your grill super hot.
- Bring your ground beef to room temp 20 min beforehand.
- Season patties with salt on both sides.
- Hit the grill and get a crispy edge. If you're after a flat crispy burger, turn once and make sure it's super crispy on both sides for 2 minutes, pressing down with a spatula. If you want a rounder/meatier burger, don't push down, and turn every 30 seconds for about 4 minutes.
How To Grill The Perfect Steak
Steaks can be intimidating because there are so many cuts to choose from, and they’re more expensive than ground chuck. But they are also crazy satisfying, and carry a bit more cooking prestige than a burger.
To get the perfect, caramelized crust and tender interior, our experts recommend starting with fattier meats. “At a cellular level, meats with more fat are a bit more forgiving if you overcook them,” says Chef Churchill.
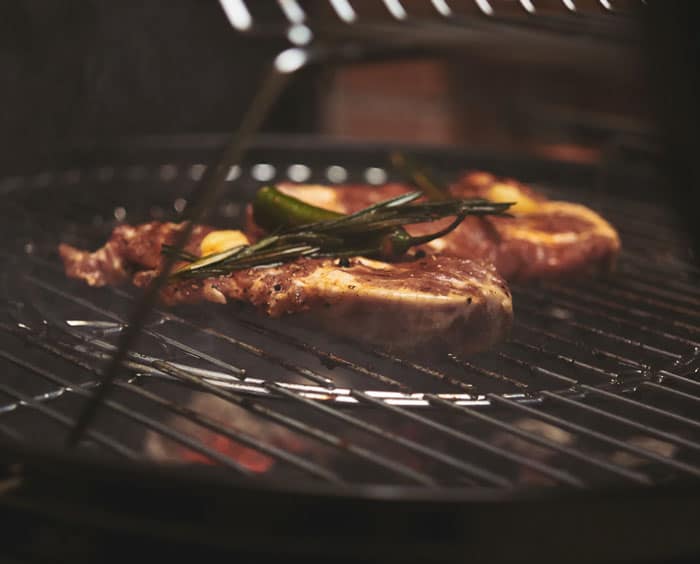
Skirt steak is Chef McKenna’s favorite go-to for beginners: “Wonderfully flavorful, it cooks up quickly, yet requires high heat, and is easy to slice, which is great when feeding a larger group.”
From there, Churchill recommends similar steps to cooking a burger, but taking more care to monitor the internal temp:
- Bring steak to room temp 20 min beforehand.
- Season steak with plenty of salt on both sides for a nice crust.
- Get your grill super hot.
- Flip steak every 15 seconds for 2-4 min depending on size.
How To Grill Perfect Chicken
Grilling chicken can have an extra layer of intimidation because there’s not as much wiggle room on the cooking temp. It needs to be cooked through, but a few extra minutes on the fire can dry it out.
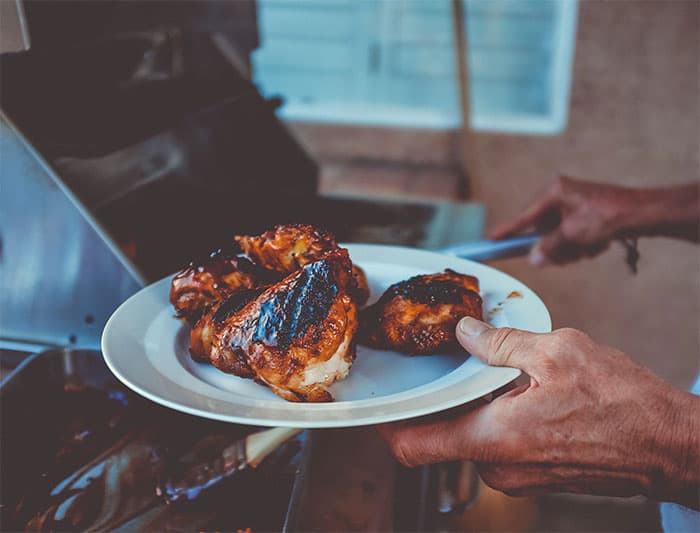
To give your bird more flavor and more of a chance at success, Chef McKenna strongly recommends using bone-in, skin-on chicken parts. Chef Churchill also suggests using a marinade to up the flavor, with the following steps:
- Make a marinade with rosemary, lemon juice, thyme, salt, pepper to infuse flavor into the chicken. Leave for at least 1 hour to marinate.
- Get your grill super hot.
- Cook on one side until golden brown for 2-3 minutes then turn over, close your grill top and cook the meat through to 165 degrees.
Just Start Grilling … Even If It’s For Yourself
The first step in tackling my grill insecurity was to pick a night when no one was around and grill for myself. I was pretty pleased with my burgers – they had a crunchy crust and weren’t too overcooked. With no one around, the pressure was off.
So for the next Labor Day or Memorial Day, don’t wait to grill until the big cookout… grab some protein on your way home from work and grill solo. A little practice and soon you’ll be debating the relative benefits of sous-vide vs zone grilling with your buds.








![It’s Time to Begin Again: 3 Uncomfortable Frameworks That Will Make Your New Year More Meaningful [Audio Essay + Article]](https://www.primermagazine.com/wp-content/uploads/2025/01/begin_again_feature.jpg)
