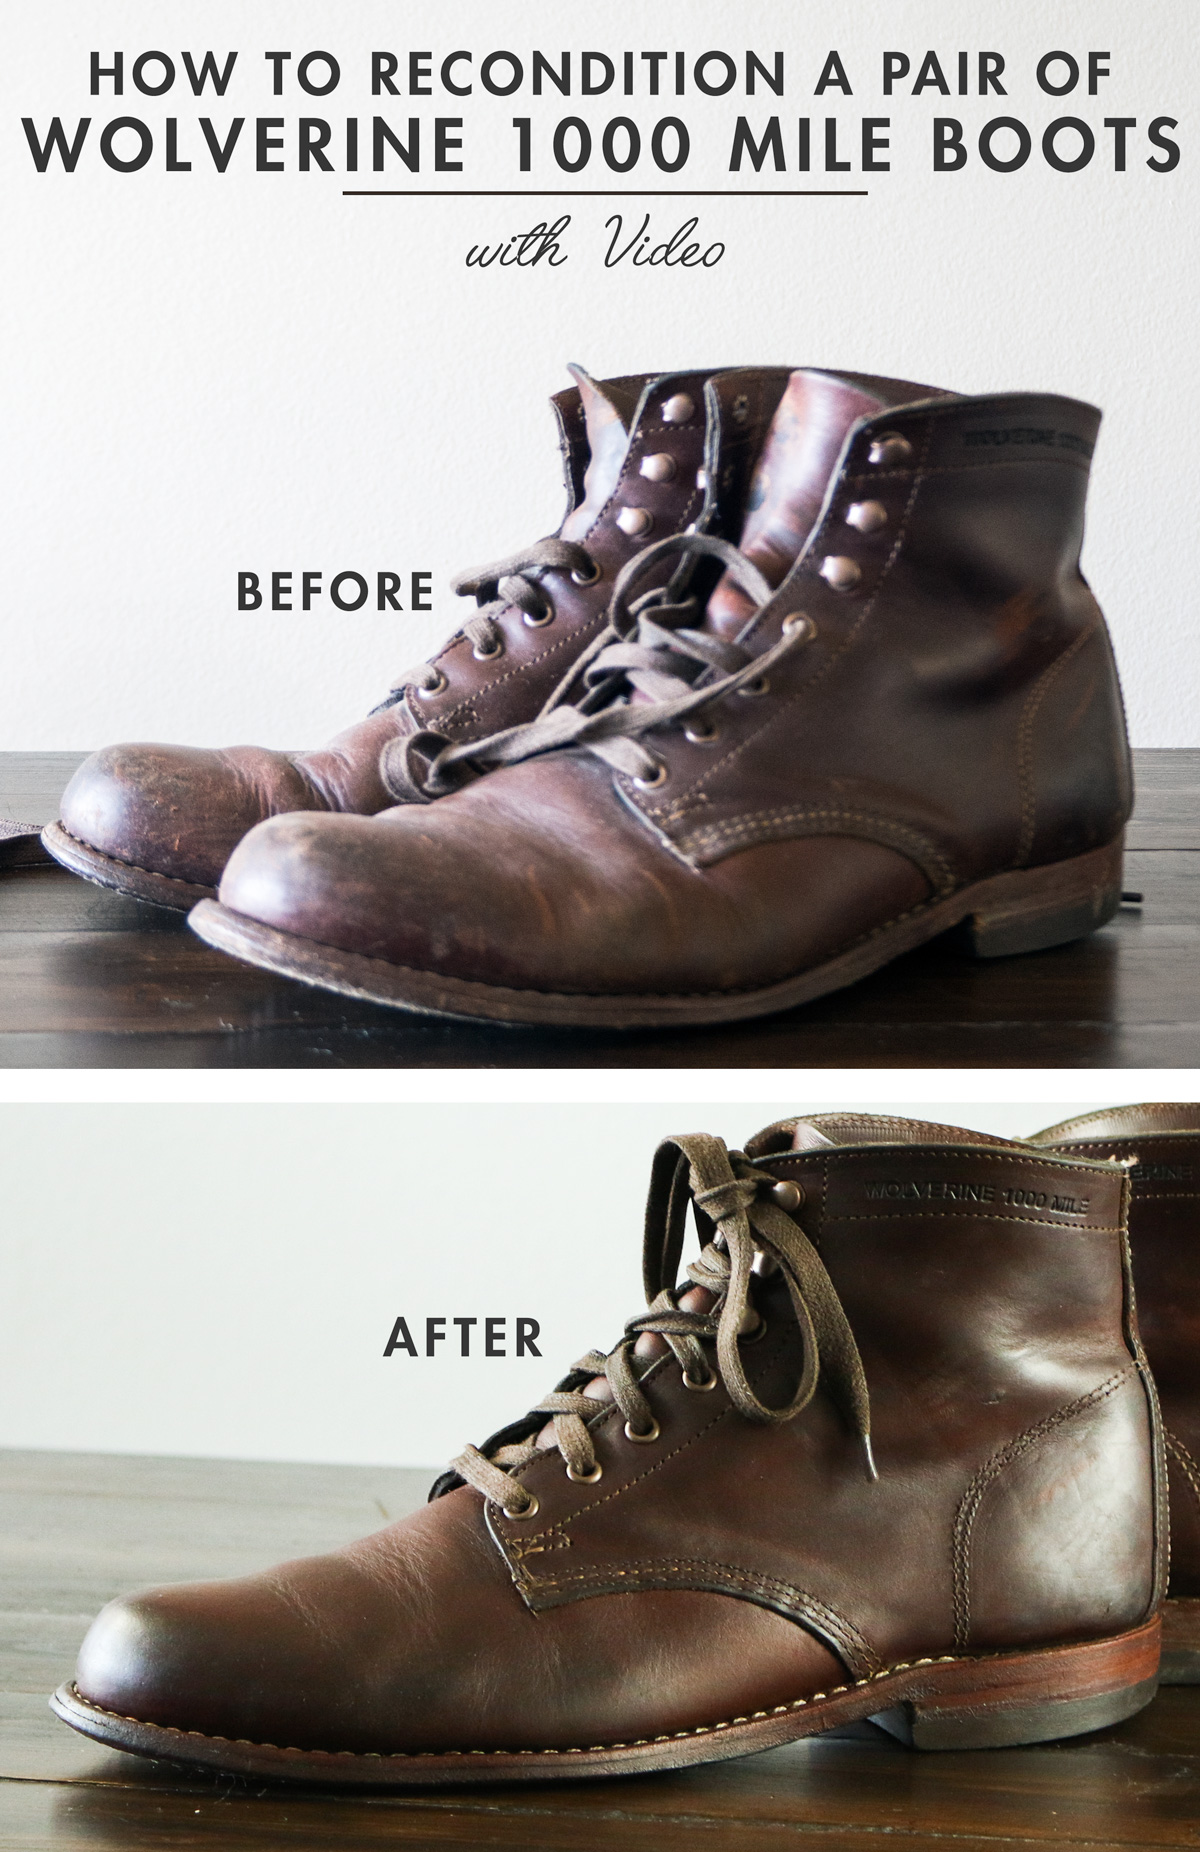
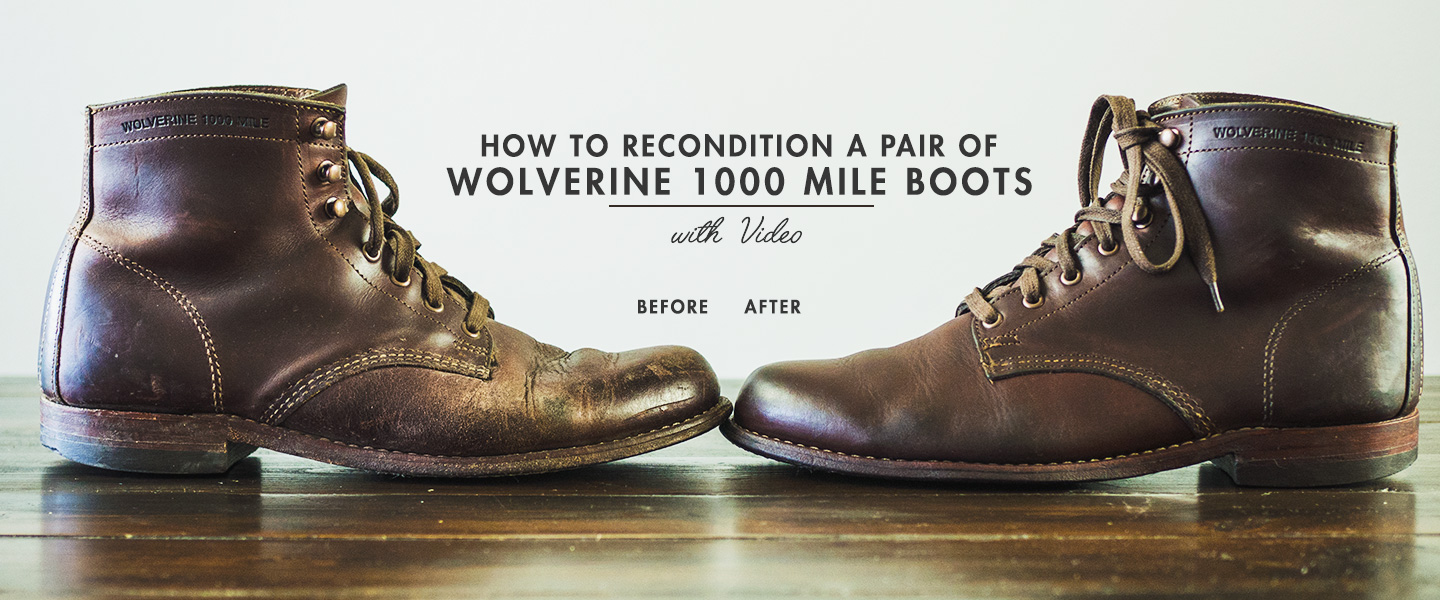
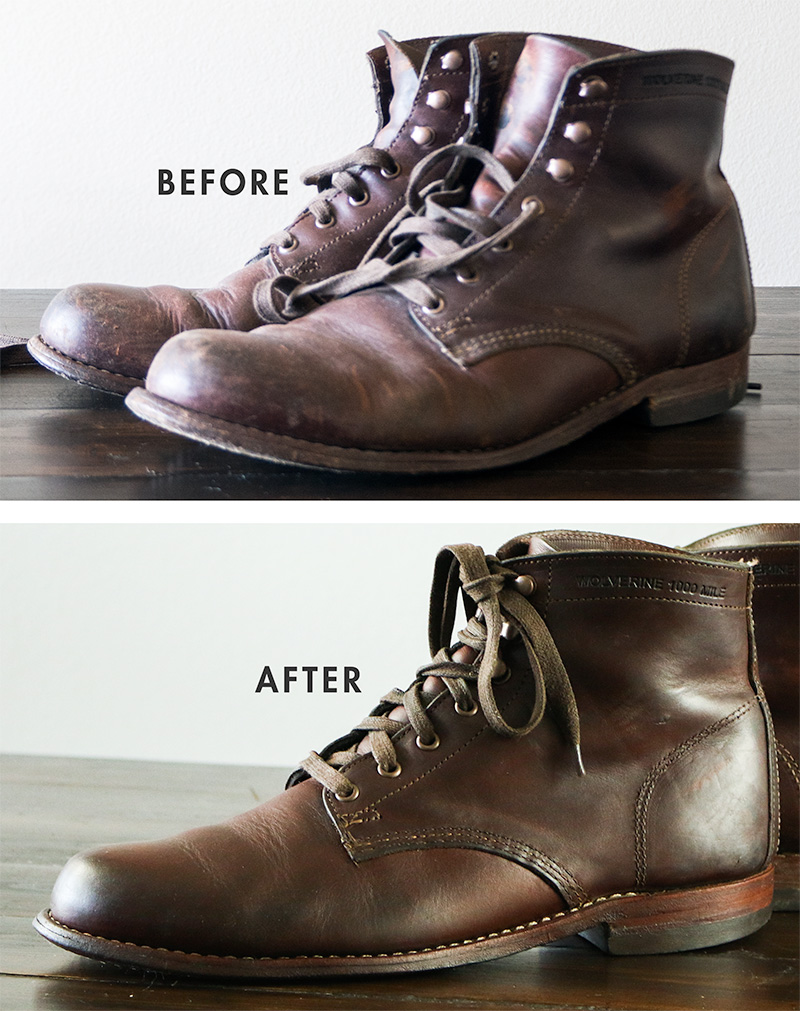
Hey guys! I'm going to show you how I restored my Wolverine 1,000 Mile Boots, that I thought were past the point of no return. I've had them for several years and I've worn them hard – I'm ashamed to admit that I didn't care for them properly along the way.
It’s important to realize that an expensive pair of boots like these Wolverine 1,000 Mile Boots or a pair of Red Wing Heritage boots are closer to Allen Edmonds dress shoes than they are to work boots. They’re made with the highest quality leathers, in the case of the Wolverine’s, a pull up leather known as Chromexcel made by Horween Leather Company in Chicago. Making it requires 89 separate processes, and has a long history of use, including as engine seals for tanks in World War II. It has a refined ruggedness that will last you a lifetime and beyond if properly cared for.
But while incredibly tough, it requires proper care to maintain it’s beautiful out-of-the-box look – though that care is incredibly easy.
There is a lot of anecdotal information on caring for boots like these on the internet, and the frustrating part is most of it contradicts each other. Saddle Soap. Mink Oil. SnoSeal? Don’t use SnoSeal. No matter what you decide to go with, it feels like a gamble, because if you listen to half of the internet, you’re going to destroy your boots.
Because of this I went straight to the source, and reached out to the be all end all experts: The product development team at Wolverine.
What follows is my experience with their care instructions and product recommendations.
First and foremost, you want to start with the minimally harsh products first, and only go up if your specific boots need them. In the case of Saddle Soap, it’s sort of the nuke option – while it contains conditioners, it also contains soaps, which can dry out the leather. It can also stain the leather. This is best used when actual cleaning is required.
Neatsfoot oil, an oil derived from the hooves of cattle, has long been recommended for conditioning leather like baseball gloves, but but it can leave an oily residue and attract dust, while also possibly darkening the leather.
Snoseal, specifically, is used to waterproof, hence “protecting it” but should only be used on boots that will face a lot of exposure to precipitation – it’s used by hikers and the like, who need extreme protection. Those people are not wearing boots like the 1,000 Mile.
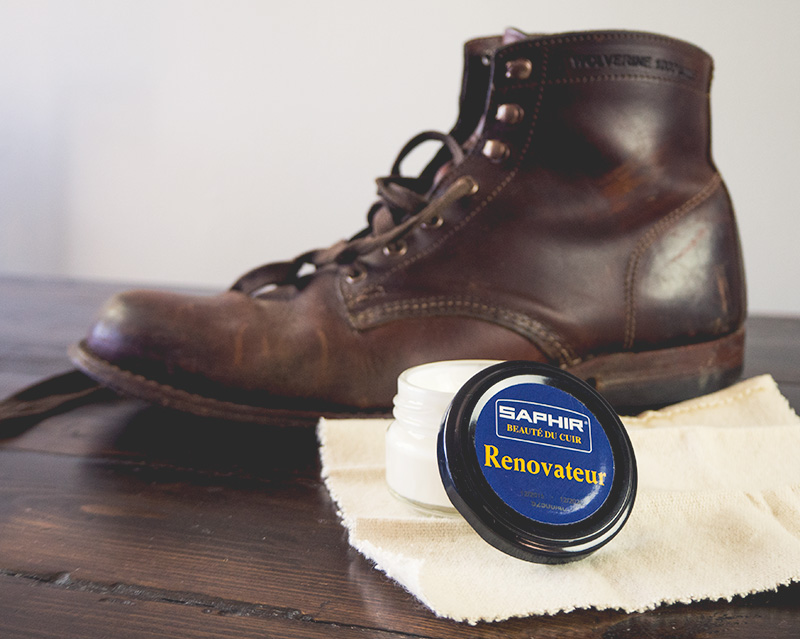
Wolverine recommends a shoe cream, and we’re using what shoe afficionados consider the absolute best all-purpose cream: Saphir Renovateur. If you spend any amount of time looking up shoe creams on the internet there is one clear favorite. Traditionally used for expensive dress shoes, Saphir is the right tool for the job because these boots are essentially ruggedly designed dress shoes.
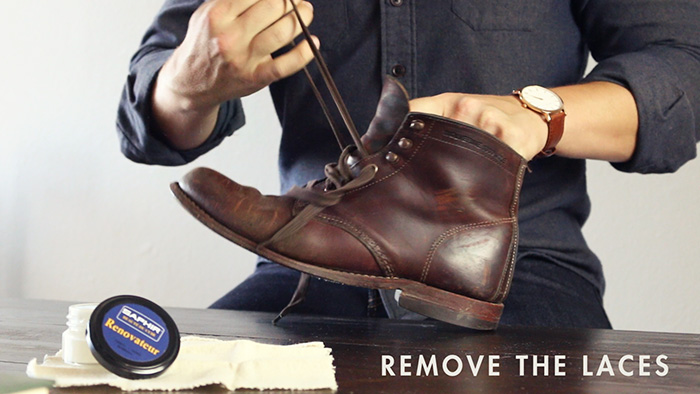
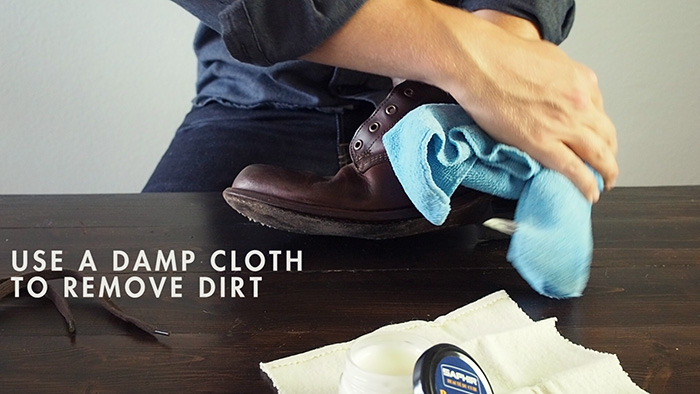
Step 1: Remove the Laces & Wipe with a Damp Cloth
We want to be able to get all of the boot's leather, including the underside of the vamp, so we'll start by removing the laces.
Then use a damp cloth and remove any excess dirt, dust, and other things you've picked up on your travels. Starting with a clean boot ensures we're not rubbing those things into the leather.
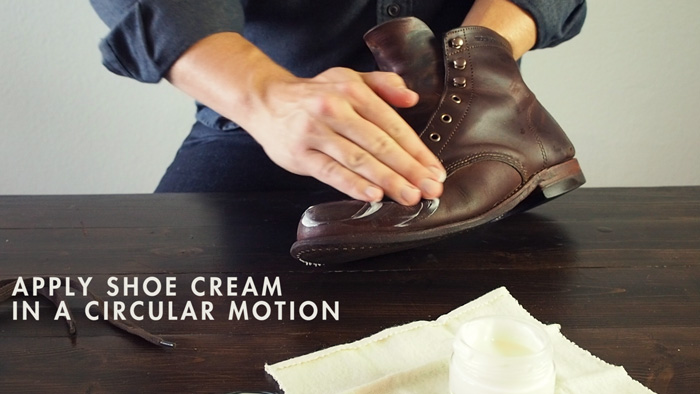
Step 2: Apply Shoe Cream
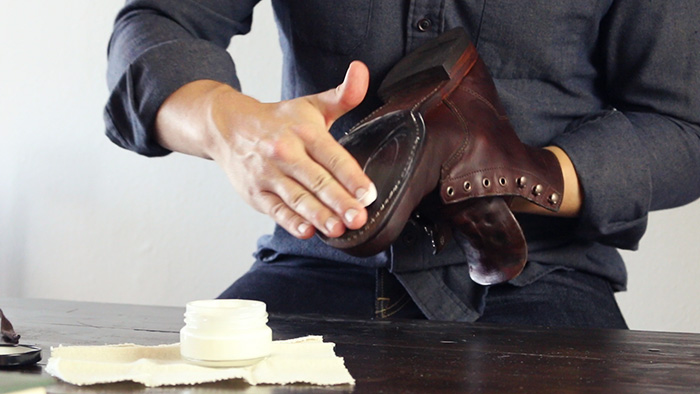
Add some of the shoe cream to your fingers and start applying it in a circular motion. We're using our hands to get the cream into all of the nooks, crannies, and poors of the leather. Putting hand lotion on your hands wouldn't work as well with a paint brush, and the same holds true here too.
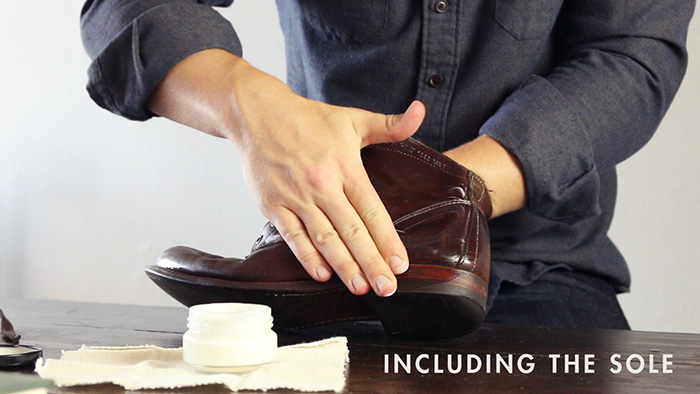
A lot of people don't realize that the sole on boots like the Wolverine 1000 Mile are leather too, some people assume it's some kind of wood or other product. Because of this, it's imperative to care of the soles just as you would the upper. Be generous with the shoe cream, both on the sides and on the bottom.
Step 3: Get Between the Upper and Sole
It's imperative that we condition the area between the upper and the sole – not only does this ensure that this leather is cared for too, it helps the thread from becoming dry and brittle. To do this, we use a Q-Tip to get into the areas our fingers can't.
Step 4: Let Dry and Wipe Clean
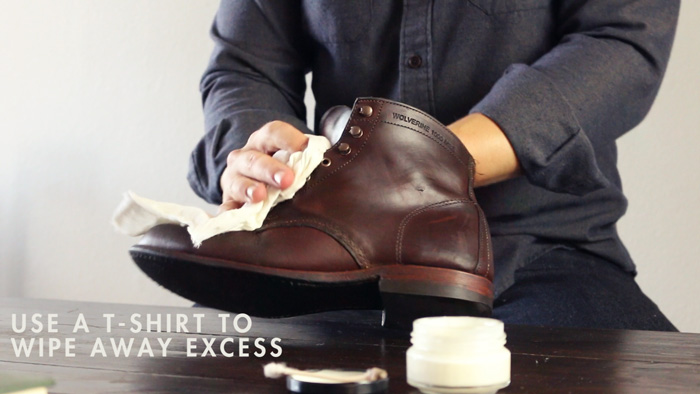
After allowing the boots to absorb the shoe cream for 5 to 10 minutes, take an old t-shirt and wipe away the excess. While the Saphir shoe cream is phenomenal, the cloth that came with it plastered the boot with lint so avoid using it.
Step 5: Buff
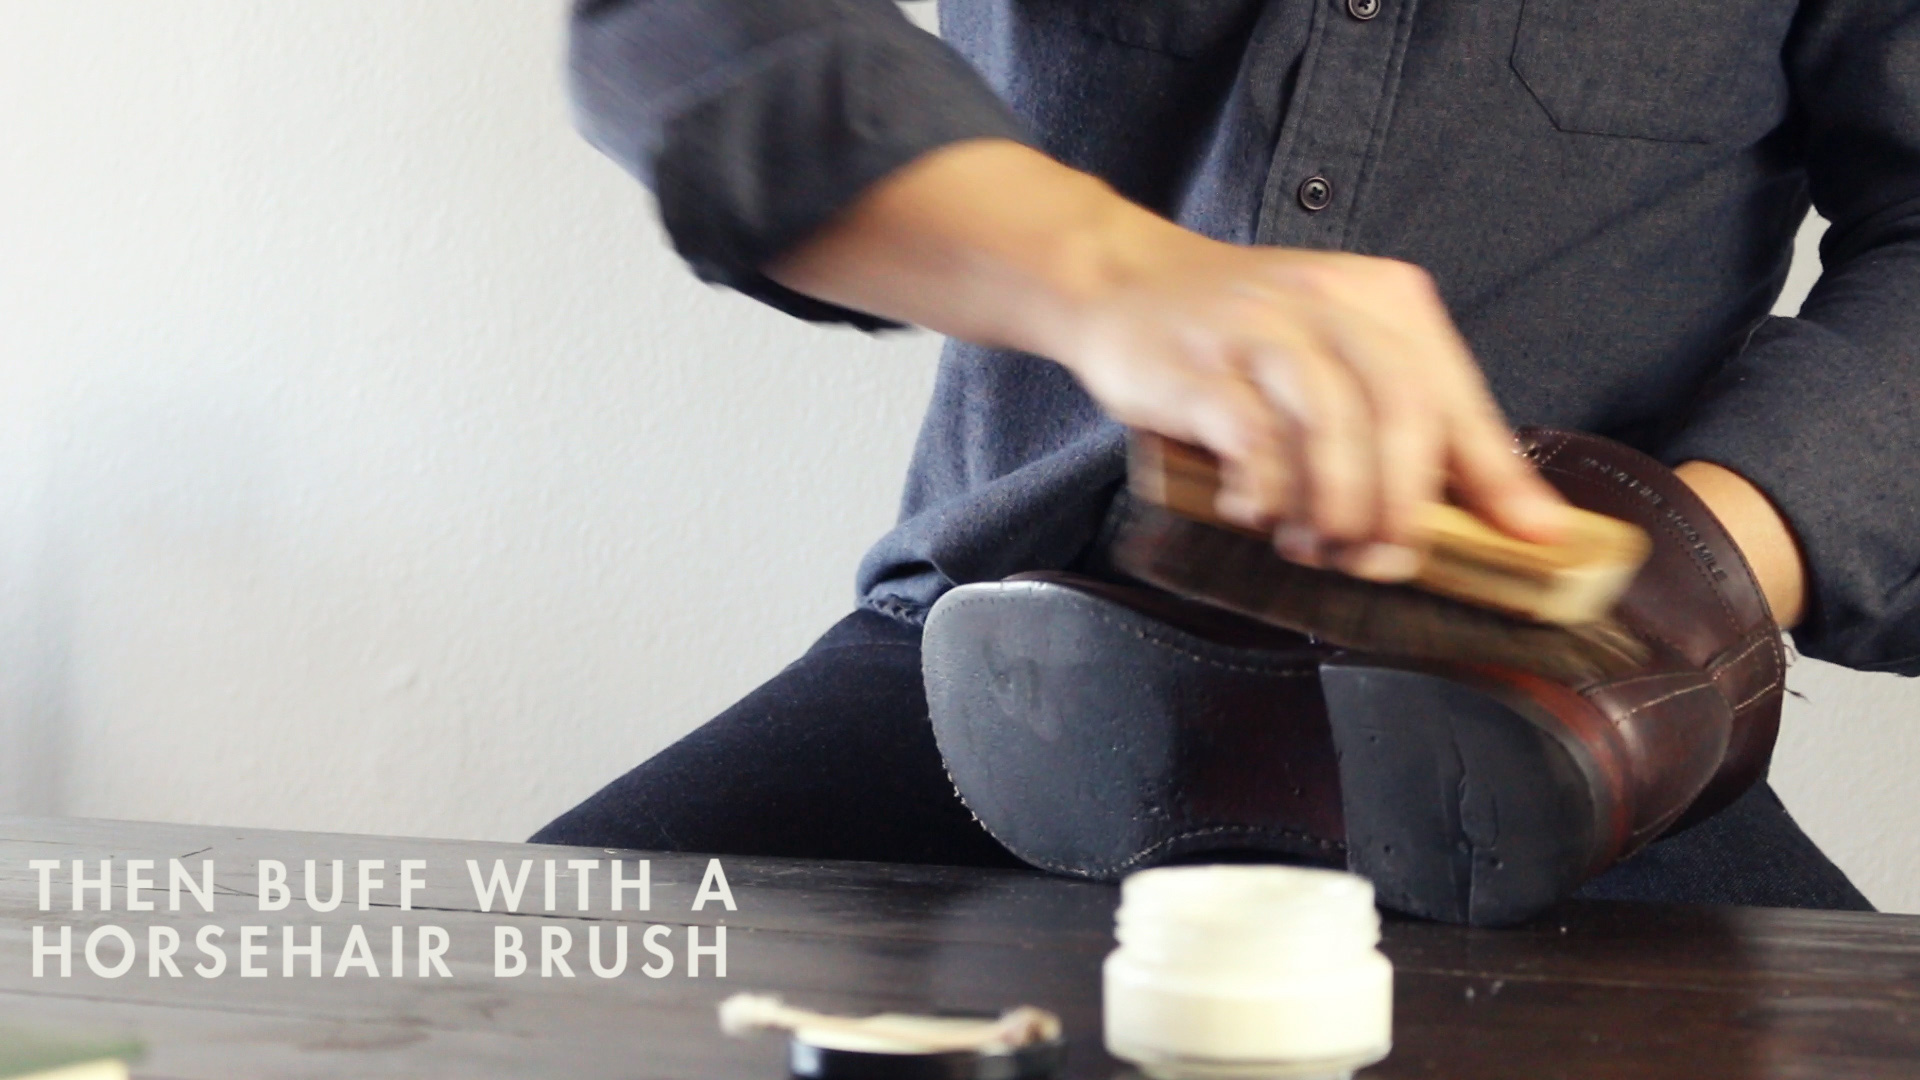
Using the same horsehair brush you use after polishing your dress shoes, buff the boot to give it a finished appearance. Long, light strokes are all that's need here.
Step 6: Condition the Laces
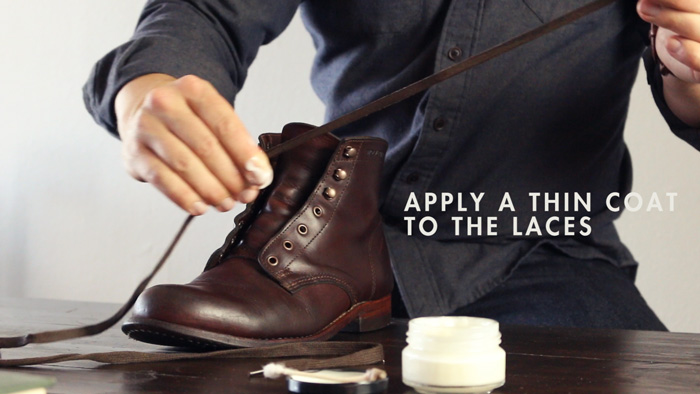
The laces on the 1000 Mile boot and others like it come glazed. To help them last longer and to keep them from breaking, add a little shoe cream between your index finger and thumb and run the laces through.
Step 7: Re-lace
Noting the original lacing method, with the bottom section starting on the outside not the inside, begin working the laces through the eyelets. Since these are dressier boots, it's important that you take the time to untwist them as you go so they lay flat.
Step 8: Use Shoe Trees
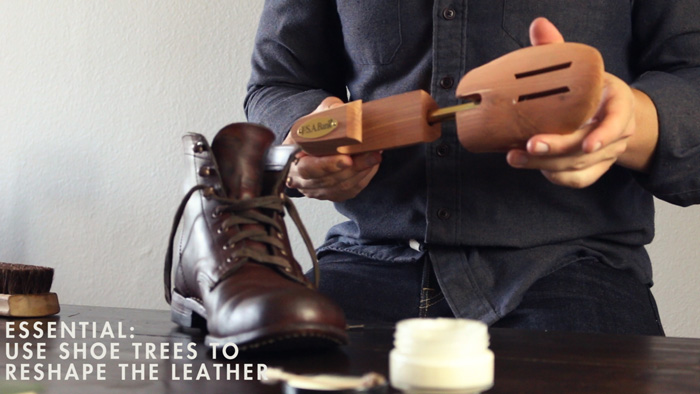
This step is absolutely imperative, and it's something I should have been doing from the beginning. I love the shape of this boot, but with soft leather like this it will start to lose its shape over time. Using shoe trees allows the leather to contract around the tree after you take them off and helps fight off harsh creases. (It also sucks out moisture that can cause odor.) They're available on Amazon.
►Buy Wolverine 1000 Mile Boots on Amazon
►Buy Saphir Renovateur on Amazon
And that's it! These are wearable as dressed up boots again, instead of just the rugged outfits they had been relegated too. If you have any questions, drop me a note in the comments, and please be sure to subscribe to Primer's YouTube channel!





![It’s Time to Begin Again: 3 Uncomfortable Frameworks That Will Make Your New Year More Meaningful [Audio Essay + Article]](https://www.primermagazine.com/wp-content/uploads/2025/01/begin_again_feature.jpg)
