By Kevin Lee
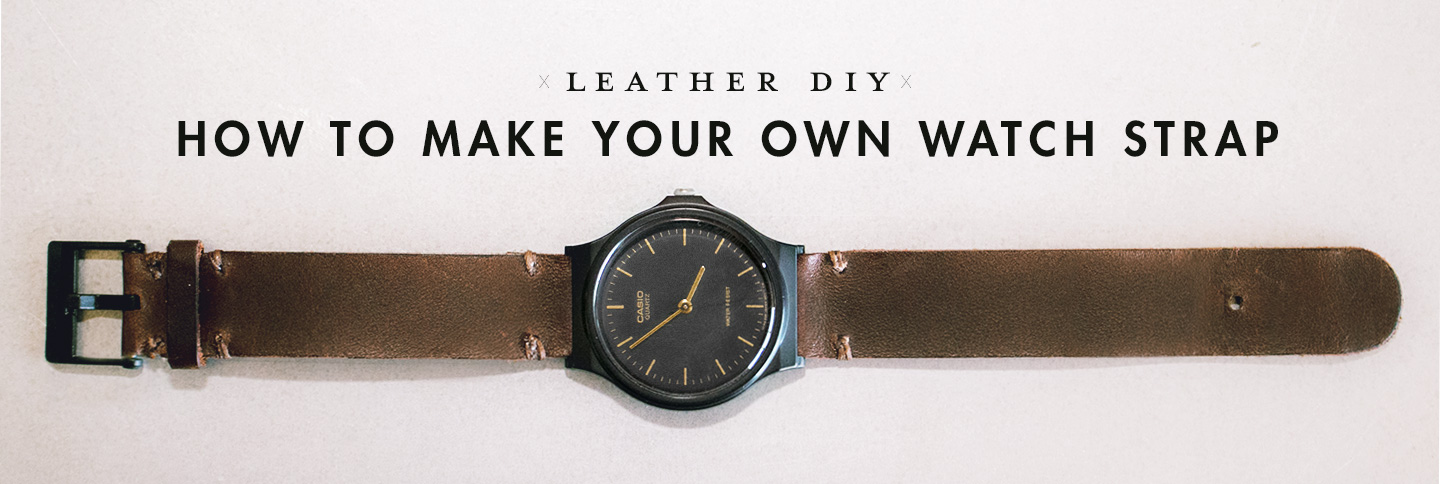
Watch straps are often an overlooked piece of our outfits, but they can also be used to express our sense of style. This basic tutorial will teach you how to make yourself a custom leather watch strap. This design is convenient since it requires hardly any tools.
For the leather alone, it probably would not take any more than 1 sq. ft. of leather, although more might be needed for mess ups! A great place for beginners to buy single square feet of leather is Springfield Leather. Another alternative is Tandy Leather Factory, which tends to have many brick & mortar stores spread throughout the country. A square feet of vegetable tanned leather should run about $10, and other variants of leather generally will cost similar prices as long as they are not exotic.
Here's a quick list of the things you'll need. You can get by with less, but this is what I used in the tutorial and it's how you'll get a really nice finished piece.
- Leather
- A reference strap for size and length
- Watch pins and buckle, or use from a donor strap
- Needle and thread
- X-acto or sharp knife
- Ruler or t-square
- Medium grit sandpaper, 200-400
- Skiver – For thinning the ends of the leather
- Contact cement – For gluing the ends of the leather
- Bone folder – For folding the ends of the leather
- Glycerine soap bar – For burnishing the edges of the leather
- Gum tragacanth – For burnishing
- Pure beeswax – Final step in burnishing
- Optional: Leather Punch
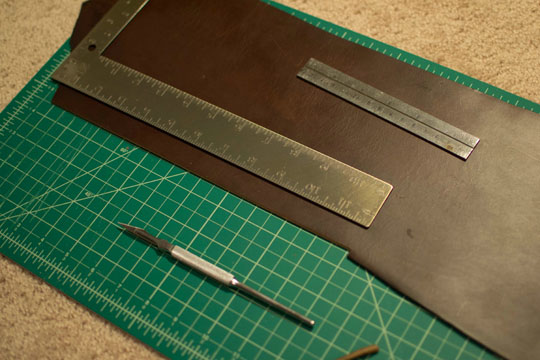
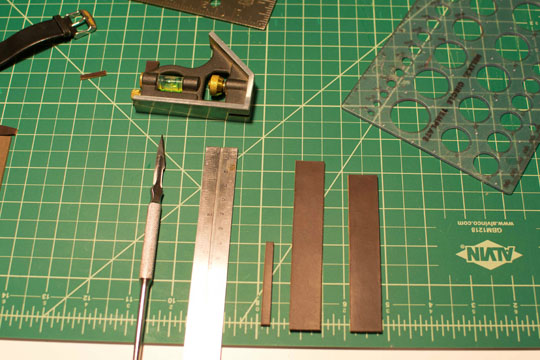
Cutting the leather out. I used horse leather for this project. The width should be based on the watch you want to put it on and/or your donor strap.
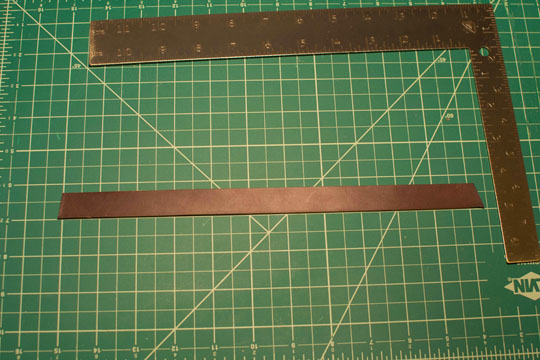
Strap all cut out. Horse leather cuts really smoothly.
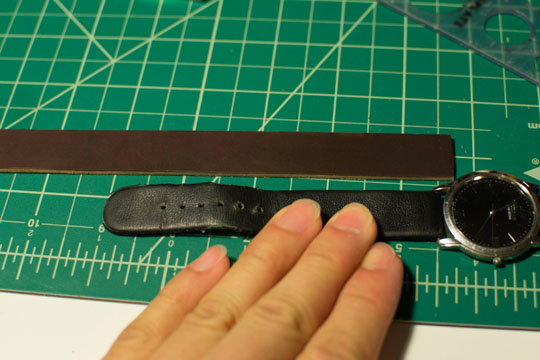
Measuring out the new strap against the old one. Since I was making this one for my dad, I used his old watch strap as a basis for all the sizing.
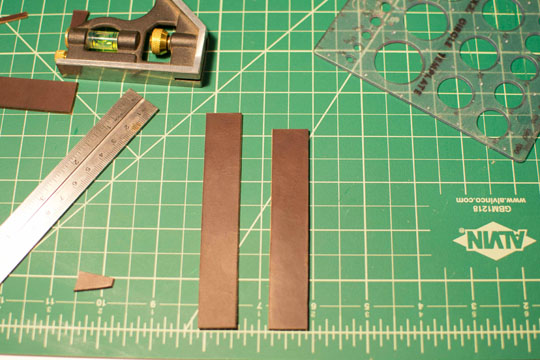
Both straps cut out for length.
The strap keeper should also be cut out at the point.
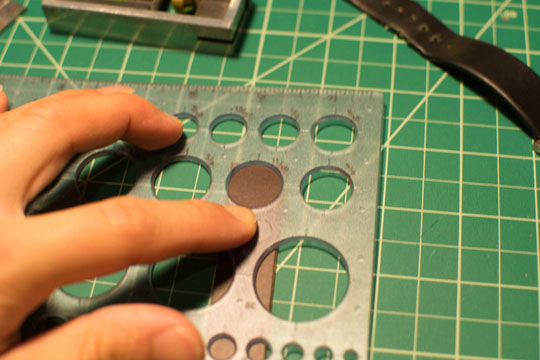
A plastic template like this or even a coin can be used to trace out the shape for the end of the strap.
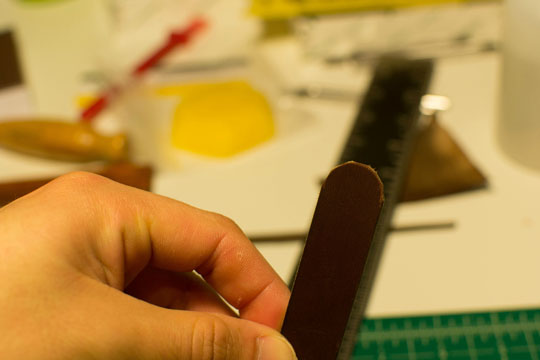
An easy way to cut out round ends is to trace the semicircle, then do a series of straight cuts slowly along the edge. While this results in a semi rough edge, it can be refined with smaller cuts later, or even sanded, which should smooth it out.
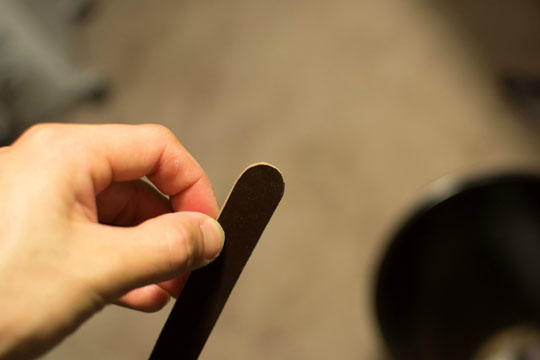
After sanding it out lightly. I just use normal, medium grit sandpaper for this.
You'll then need to make out the location of where the fold in the strap will be.
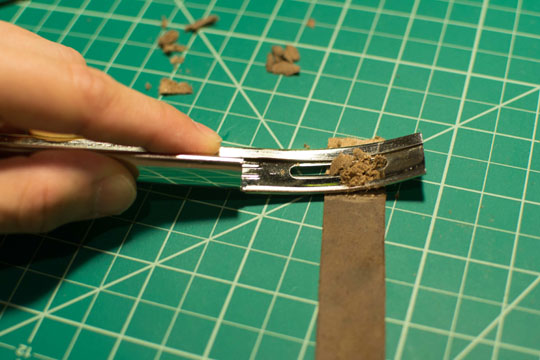
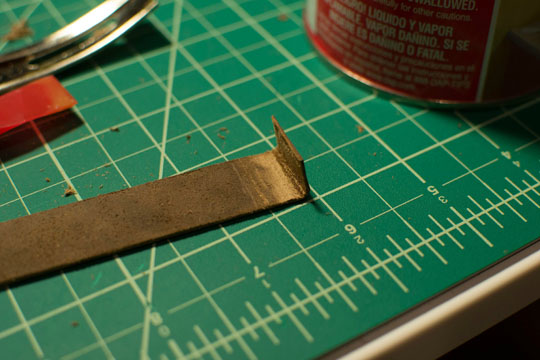
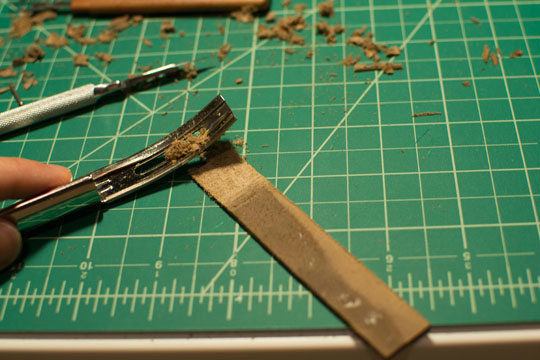
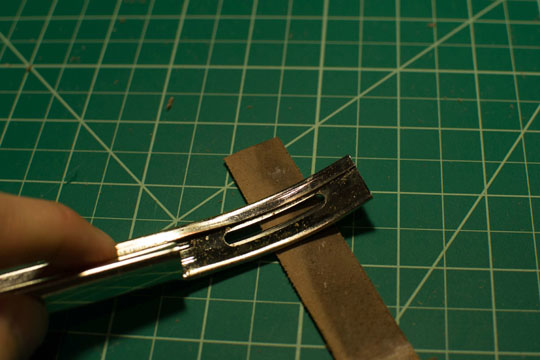
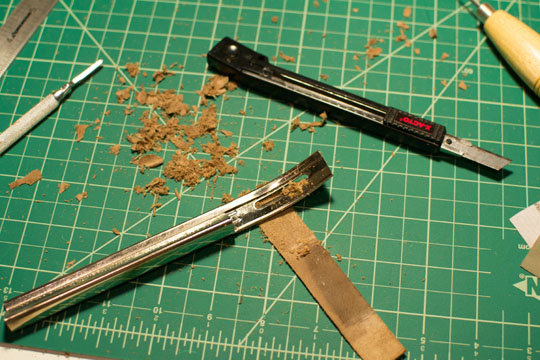
Skiving. This step can be quite time consuming so it's important to be using a sharp knife for this. This is done because when the leather is folded over, if it isn't thinned down it would be too bulky. Skiving ensures that the folded edge still lies flat.
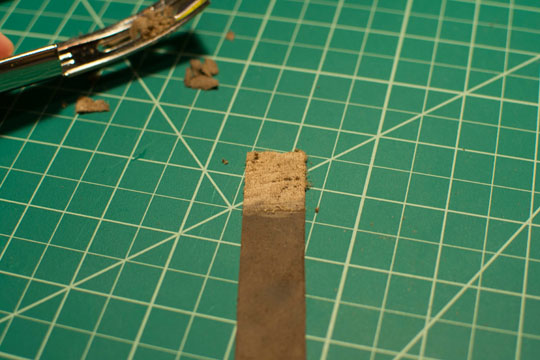
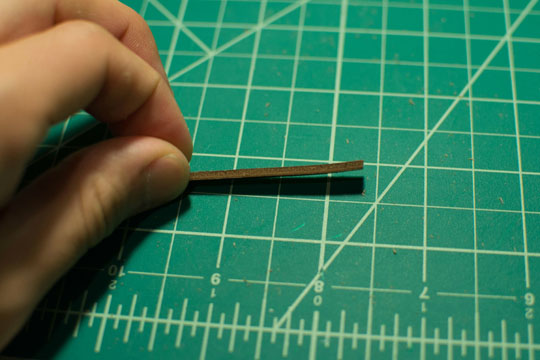
All done skiving. You'll want it to be roughly half the thickness of the rest of the strap.
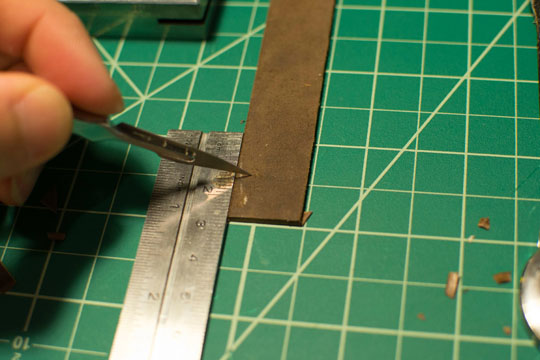
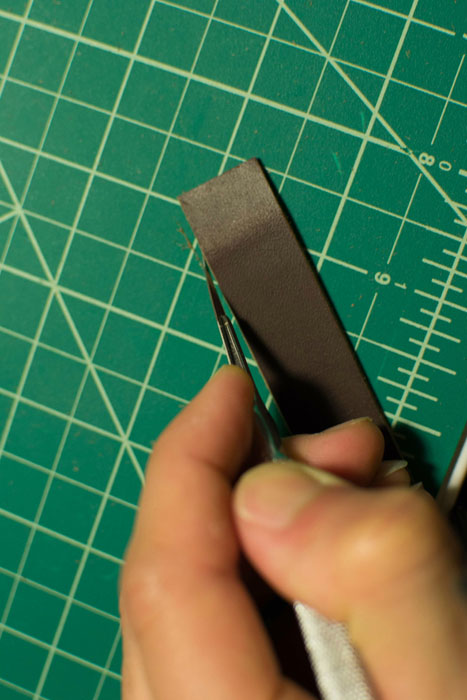
After each round of skiving, the leather hairs would begin to fold over the edge. I took my scalpel and cut it off neatly every time to ensure a clean edge.
It fit pretty well. The leather I used was quite thick. Most people will actually glue two straps together, but the leather I used was thick enough to use one layer by itself.
All ready for gluing.
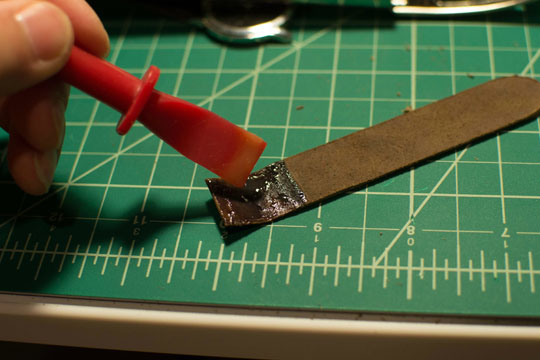
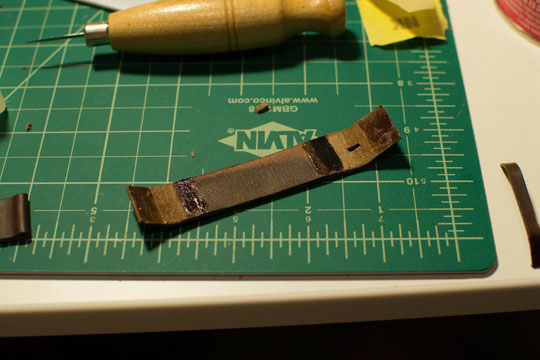
Applying contact cement to the end. Since this is such a tiny project, it's important to get it on neatly. Also, make sure you don't pass the point of where the leather will fold back onto itself since you don't want the glue to show on the underside of the strap. Also, don't forget to leave out a spot where the metal pin will go through, or else there won't be any space for it later!
Starting to skive the other strap.
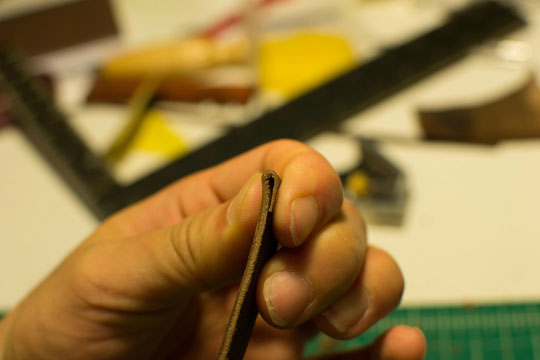
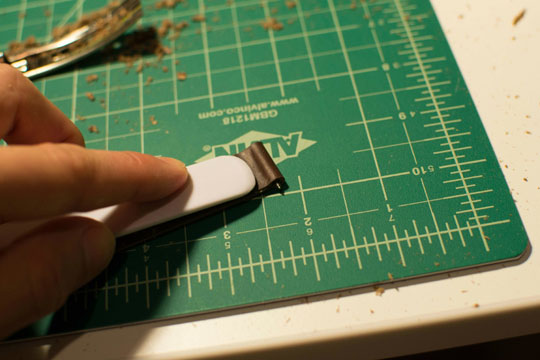
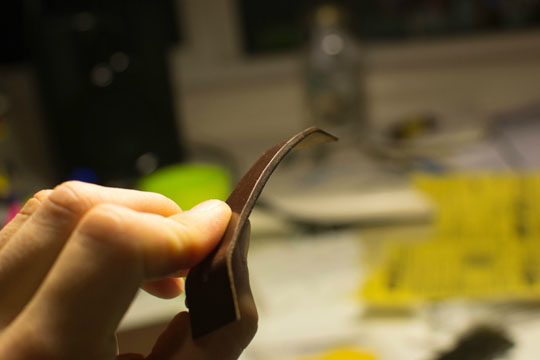
Folding it down with a bone folder. It helps to do a dry fit with the watch hardware inside the fold so you know that there's space for it.
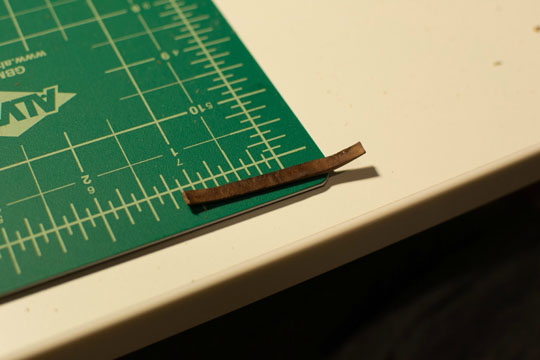
This is the small leather “loop” before skiving. If you're taking it from the same piece of leather as the rest of the strap, you'll need to skive the entire length quite heavily since you don't want it sticking out too much.
This is the loop after the skiving has been finished, sides have been burnished, and the hair side has been burnished as well.
Some more skiving.
This was the last side.
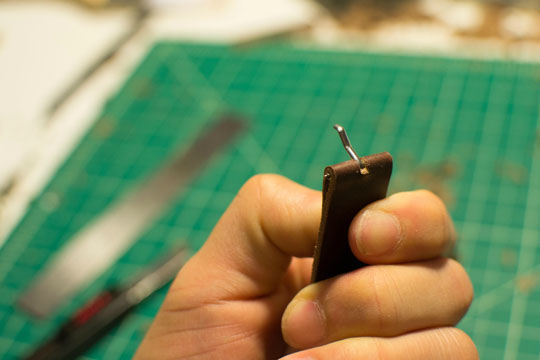
This is after the hole for the prong has been cut out (the side where the buckle will be). To achieve that small oval-shaped cut, it sometimes helps to attempt the cut after folding it to make sure you get an even cut.
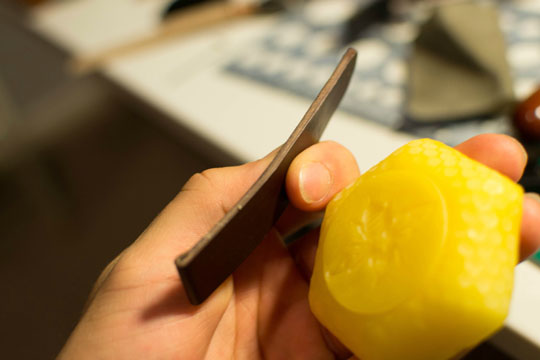
Burnishing the edges is essentially polishing them. It not only creates a smooth finished edge, it also protects the leather and will make it last much longer. I first wet the side, then rub a glycerine soap bar against the side which slicks and flattens the grain. Then I begin burnishing (rubbing or polishing) with some micro-mesh that I have from woodworking. Usually some sort of cloth like fabric or canvas will do. Then, I apply gum tragacanth, and burnish some more.
Strap with both ends cemented and ready for gluing.
As a final step of the burnishing process, I apply a coat of pure beeswax to the ends and burnish it again. You should be able to feel the wax melt as you burnish it.
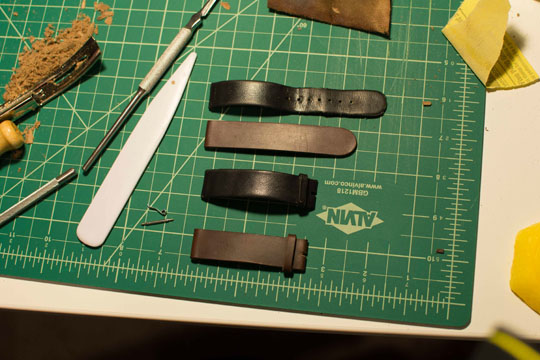
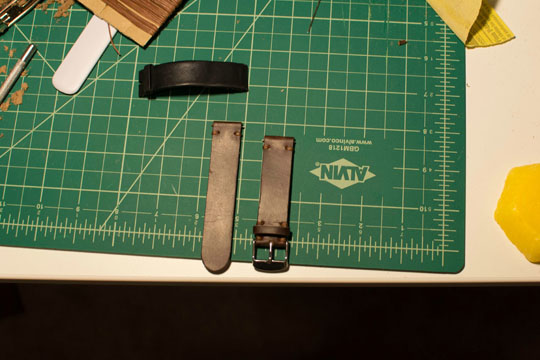
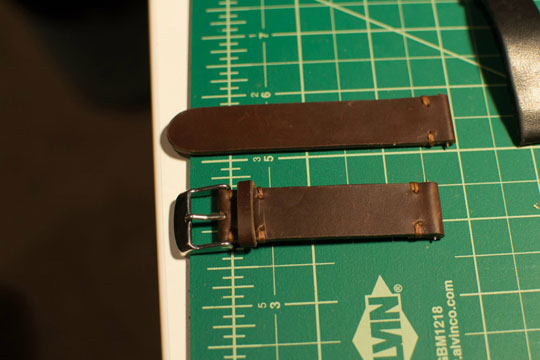
The semi-done straps laid out next to the old ones. I usually trim the corners of my leather projects to round them out, but the horse leather cut out so straight and cleanly I decided to just leave it straight. It ended up taking the burnishing well too so it all worked out.
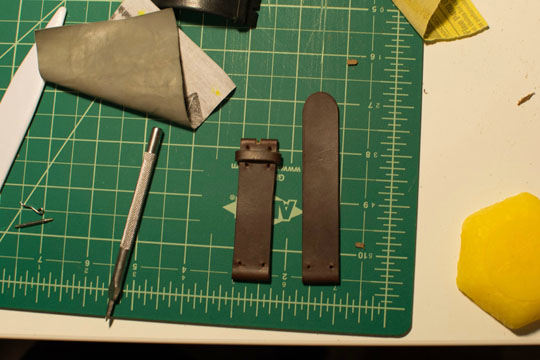
Holes all punched in for sewing. I added stitched double loops to all of the stress points on the straps to reinforce them.
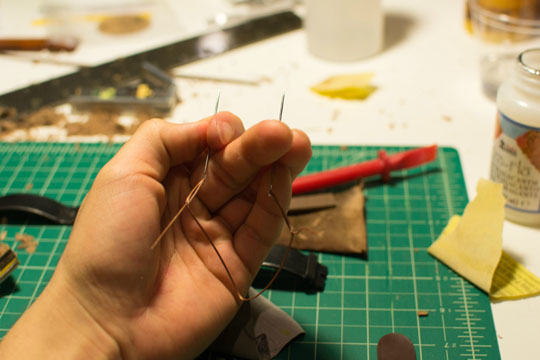
Needles all set up. I used a waxed polyester thread for the strap, but nearly any kind of robust sewing thread will do, as long as it is bulky enough to fill the hole. A great place to get cheap thread for leatherwork is Maine Thread Co.
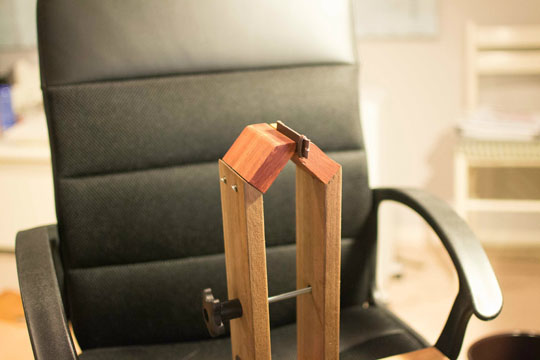
Strap set in my homemade stitching pony. These are quite cheap and easy to make after a quick trip to the hardware store. It's essentially a “third hand” that holds you project for you so you can use both hands while you saddle stitch.
Stitching all done!
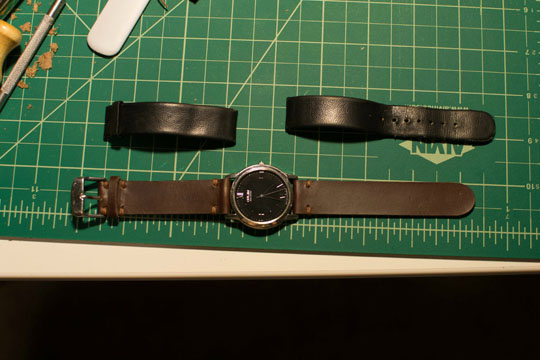
After a final round of cleaning, and hardware all set in.
All done! The holes for the strap can be punched in with smaller hole punches after you've measured the strap against your own wrist.






![It’s Time to Begin Again: 3 Uncomfortable Frameworks That Will Make Your New Year More Meaningful [Audio Essay + Article]](https://www.primermagazine.com/wp-content/uploads/2025/01/begin_again_feature.jpg)
