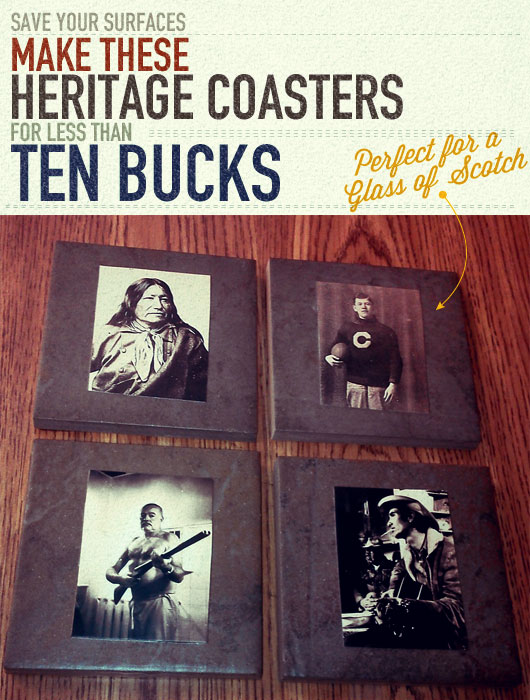
It’s New Year’s Eve, our friends are over, and everyone is having a great time. My wife and the other ladies in attendance are flocked around the latest one in our group to become pregnant, while I’m in the living room with the guys. The drinks are flowing and we’re on our third round of Cards Against Humanity. What could ruin this fun filled evening? A ring on our new coffee table, that’s what.
This is where coasters come in. Coasters in and of themselves are not really manly things. They are however, a necessity for the upscale and mature Primer reader. In the same way that the subtlety of a well-matched suit and tie combo says “I’m a professional,” a young man’s apartment with coasters says “I’m an adult”.
Coasters are an accessory to your living environment and should complement your specific style. You could search specialty decorum shops and the internet for coasters that may fit your specific style and, if you find some, they could easily cost $20 or more. Why not get some that exactly match your style and create an interesting conversation piece at the same time? This is easier to accomplish than you might think, and cheaper too. Remember the article on cheap manly art? We’ll be using the same concepts here.
What you’ll need
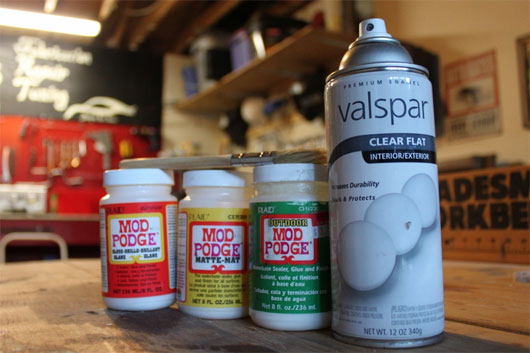
- 1- small jar of Mod Podge (matte finish worked best for me, but use what you want/can find)
- 4- 4”x4” ceramic tiles (try and stay with something that is going to compliment the colors you already have in your place)
- 1- 1” paint brush (bristles or foam, either is fine)
- 4- manly pictures of your choosing 3”x3” or smaller
- 1- can of matte finish clear coat spray paint
- 1- sheet of felt approximately 8”x10” to 12”x12” (your choice of color)
- 1- bottle of glue
- scissors
- (optional) heat gun or hair dryer
Step 1
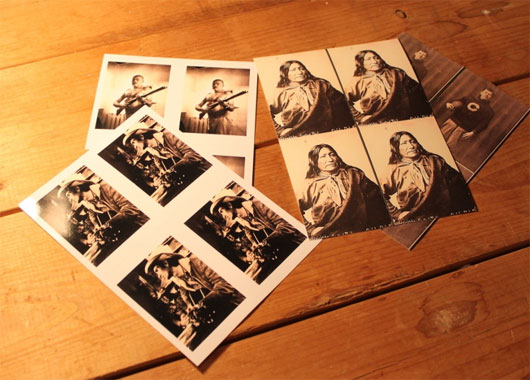
You need to decide what manly pictures you want on your coasters. I made several sets while trying out this process. On one set, I used diagrams form an old Chilton’s small engine repair guide. On another, I used the Ernest Hemmingway and Townes Van Zandt prints from the cheap art article (Big thanks Primer reader Colby for that image).
Another good source of unique pictures is the National Archives photo website. Cut your pictures out of the book or print them out on normal copy paper. Photo paper is thicker and will require more coats to even everything out. Your coasters are going to be 4”x4” so make sure your pictures are smaller than that. I like 3”x3” or smaller because it creates a frame like look around the picture.
Step 2
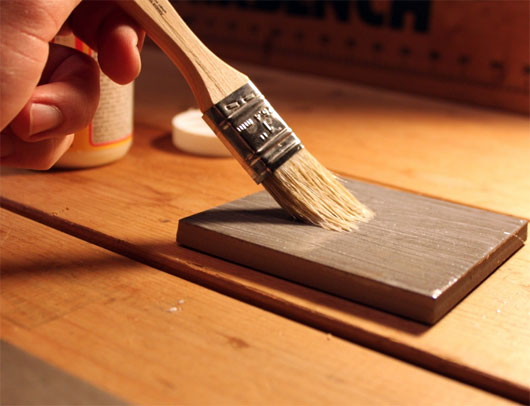
Take all your supplies to your workshop or balcony. You’ll want to do this somewhere with ventilation because the sealant and Mod Podge stink. Stinky usually means toxic, and toxic means bad. Give each of your tiles a coat of Mod Podge . While it’s wet, center a picture on the tile and smooth it down with your fingers. Try to get out any air bubbles that may be under your picture. Let it dry for 4 or 5 minutes and give it another coat. Once this coat dries, do 3 or 4 more light coats. This is where your heat gun or hair dryer comes in. You can use it to speed up the drying time between coats from 20 minutes to about 2 minutes. You can do all the tiles at once or one at a time, whatever you’re comfortable with.
Step 3
Seal the tile with the spray on clear coat. Follow the directions on the can, and keep the coats very light. You’ll want to do 2 or 3 coats of clear. This step really stinks, so you should do it outside if at all possible. I’ve found that letting them cure in the sun for a few hours makes the smell dissipate quicker.
Step 4
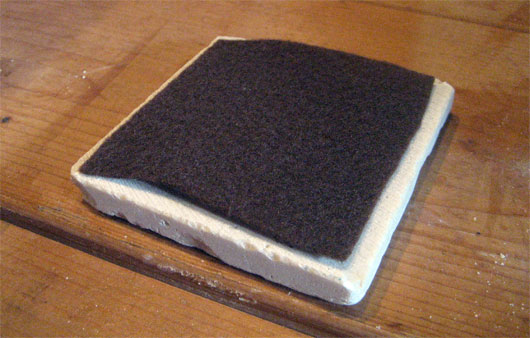
The final step is to cut your felt and glue it to the bottom of each tile. Cut your felt to be about a ½” smaller than your tile. You don’t want it poking out from the sides. Most tiles have a grid pattern on the bottom. Run a small bead of glue along all the lines of the grid and press down the felt. Once the felt is pressed on, let the glue dry.
That’s it!
Your custom made, manly coasters are ready to roll. All in all, including drying time between coats, the project should take you a whole day, maybe two if the clear coat takes a while to dry. Actual work time is only about 15 minutes. Your total cost will vary depending on the tiles you buy, but mine came in at a about $10, and I have plenty of Mod Podge and clear coat left to make more sets for gifts.
Follow up
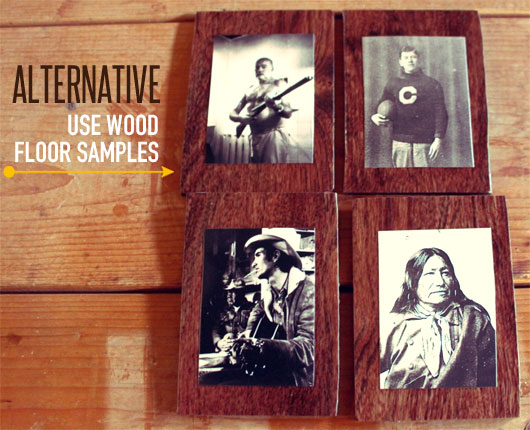
I mentioned that I did several runs to get the process right. Instead of tiles, you can use vinyl “wood” flooring samples. They cost about $0.26 each, they’re easy to trim to the right size, and they have a rubber layer on the bottom. I used cherry finish because I liked the darker look, but walnut is good too. Just cut your “wood” with the scissors, and follow steps 2 and 3. They don’t look as good as the tiles ones, but they would be perfect for a game room or if you needed several sets for parties.


